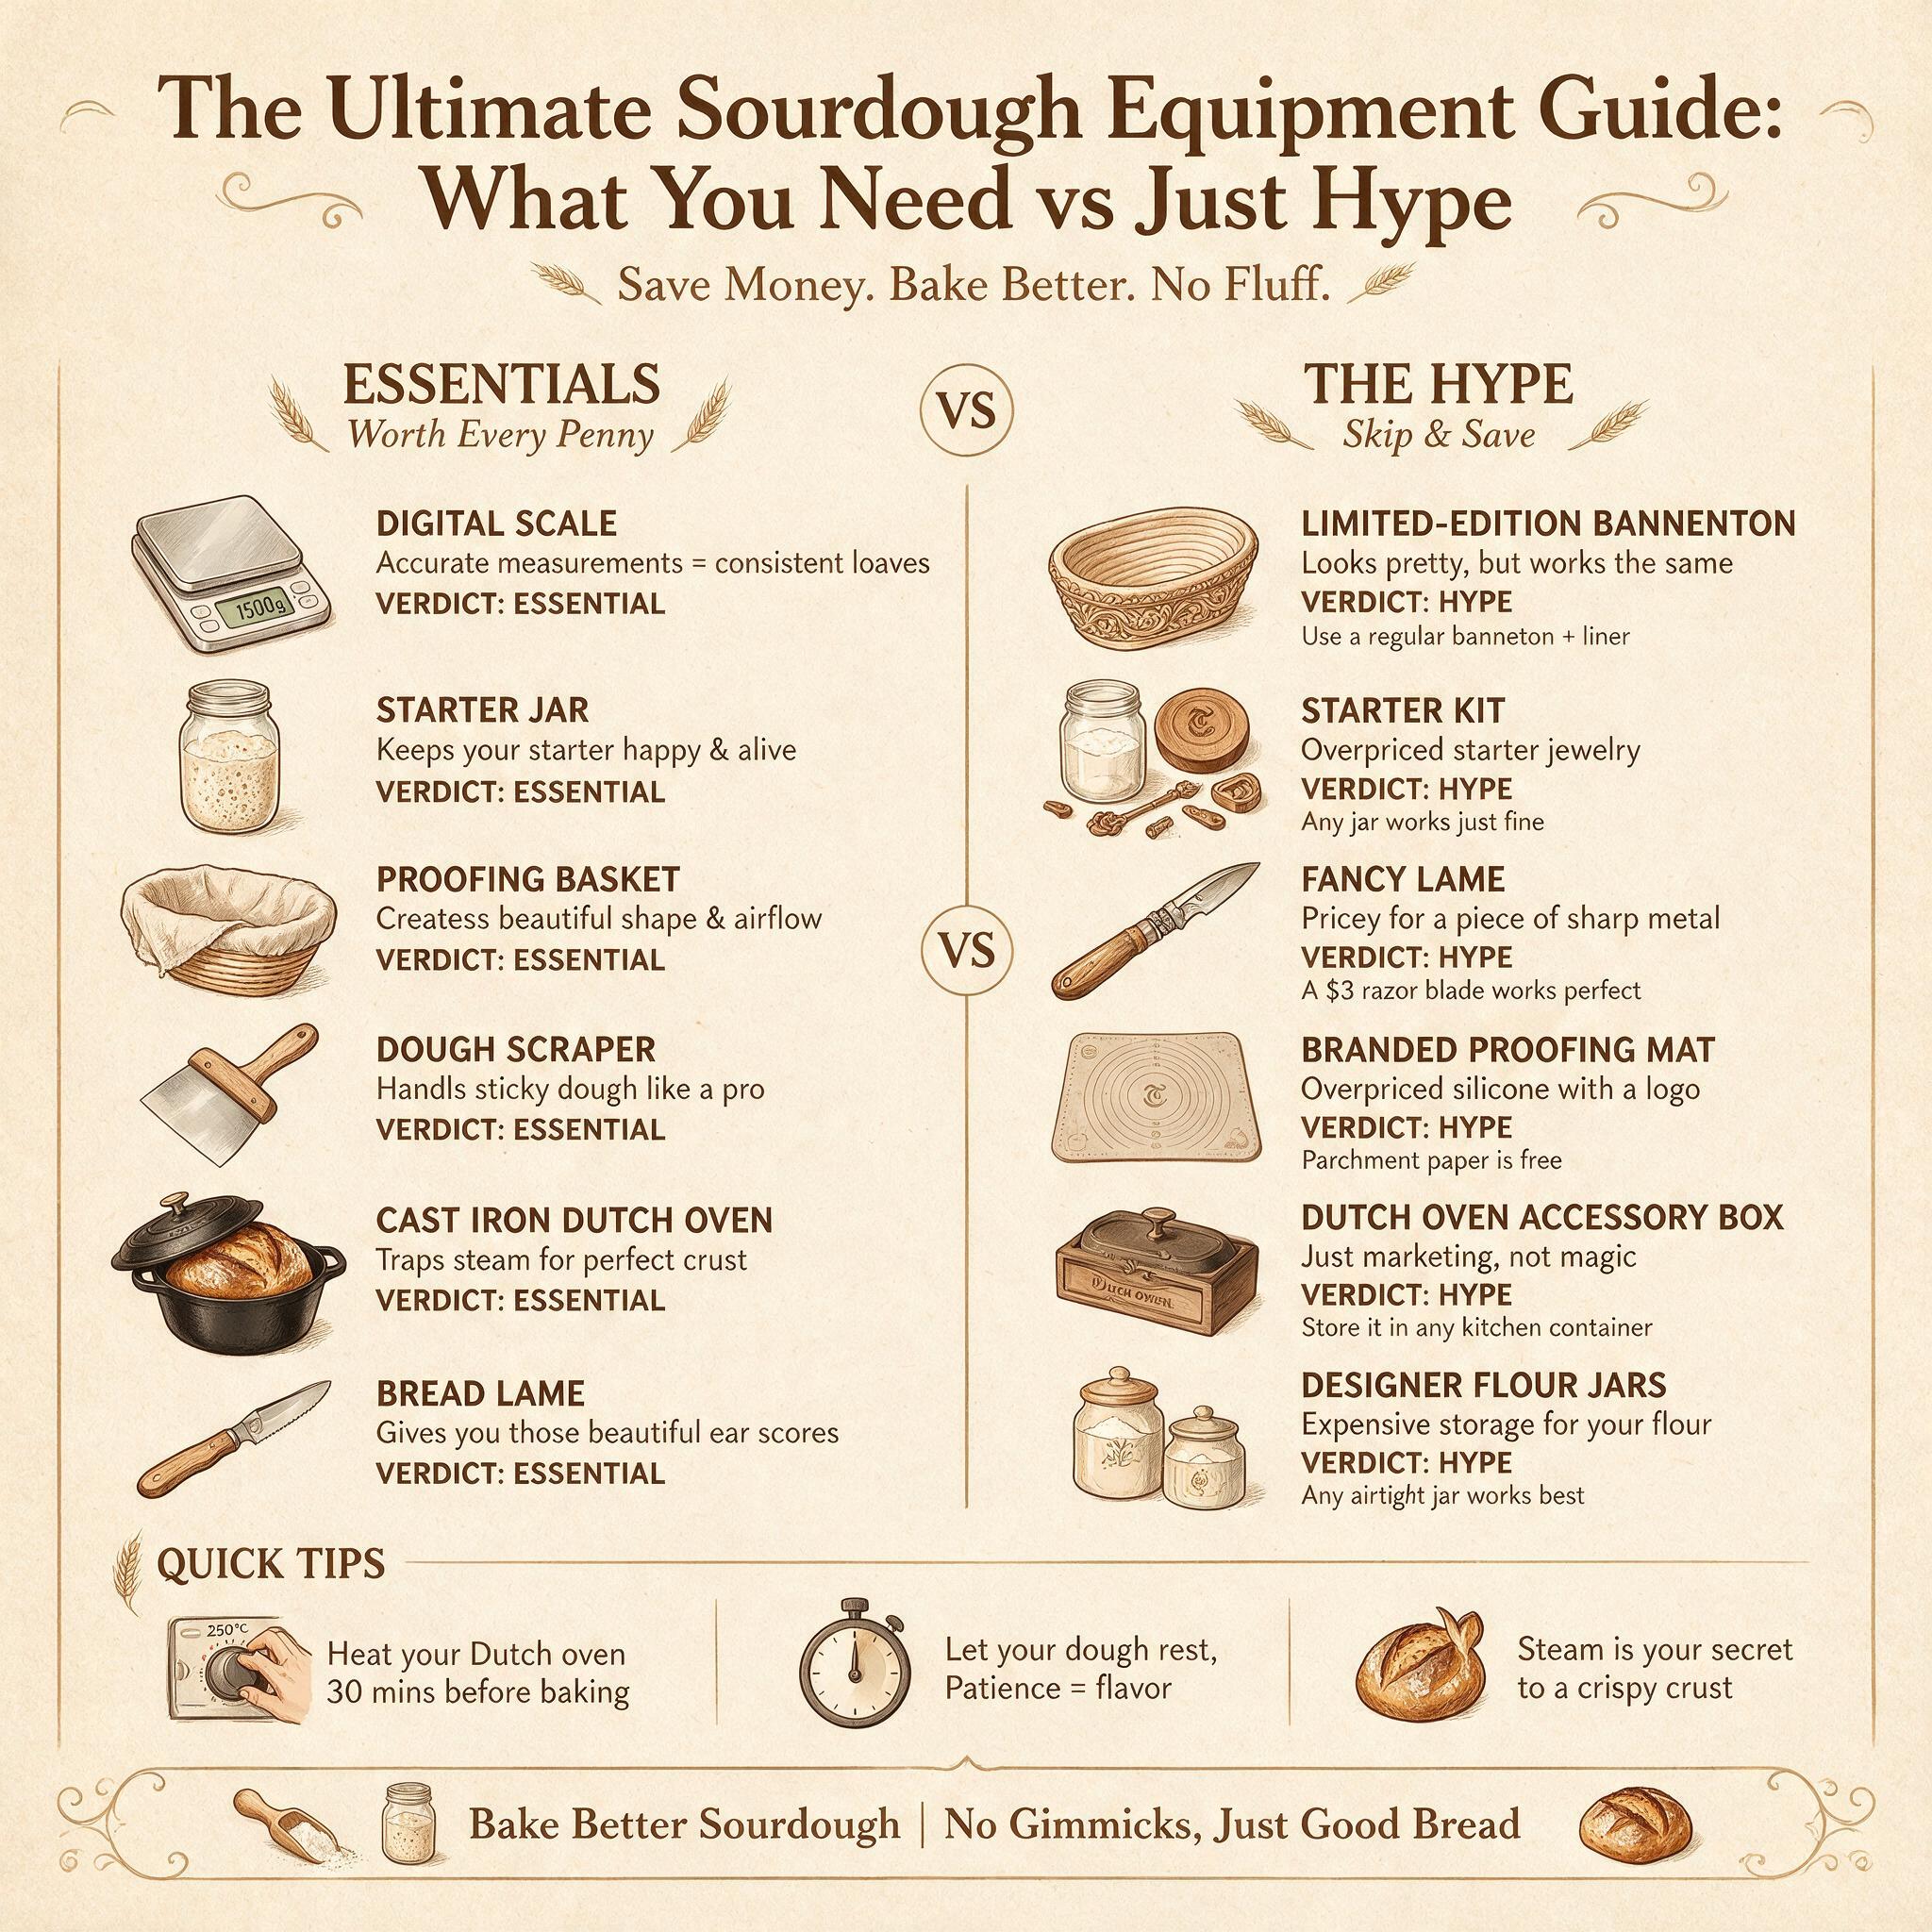
If you've ever scrolled through sourdough TikTok or Instagram, you've seen the gear towers: proofing boxes, bread ovens, grain mills, marble slabs, ceramic bannetons, scoring stencils, specialty thermometers — a $700+ setup for what is fundamentally flour, water, salt, and time.
Here's the honest truth from testing 15+ authoritative sources (Serious Eats tested 10 proofing baskets and 7 bread ovens head-to-head): five essential tools under $100 produce bakery-quality sourdough. Everything else is a convenience upgrade or straight-up hype.
This guide categorizes every common sourdough tool into three tiers: what you actually need, what's nice after you've baked a few dozen loaves, and what you can safely ignore until you're ready to spend real money. I'll include budget alternatives for each so you know exactly where to invest and where to save.
What You'll Learn
By the end of this post, you'll understand:
- •The five non-negotiable tools (and their cheapest reliable options)
- •Nice-to-have upgrades worth buying after 20–30 loaves
- •Straight-up hype items that don't improve your bread
- •Budget alternatives for every piece of gear
- •A complete cost breakdown from minimum viable kit to premium setup
Let's cut through the noise and figure out what actually matters.
Tier 1: Essential Gear (The Non-Negotiables)
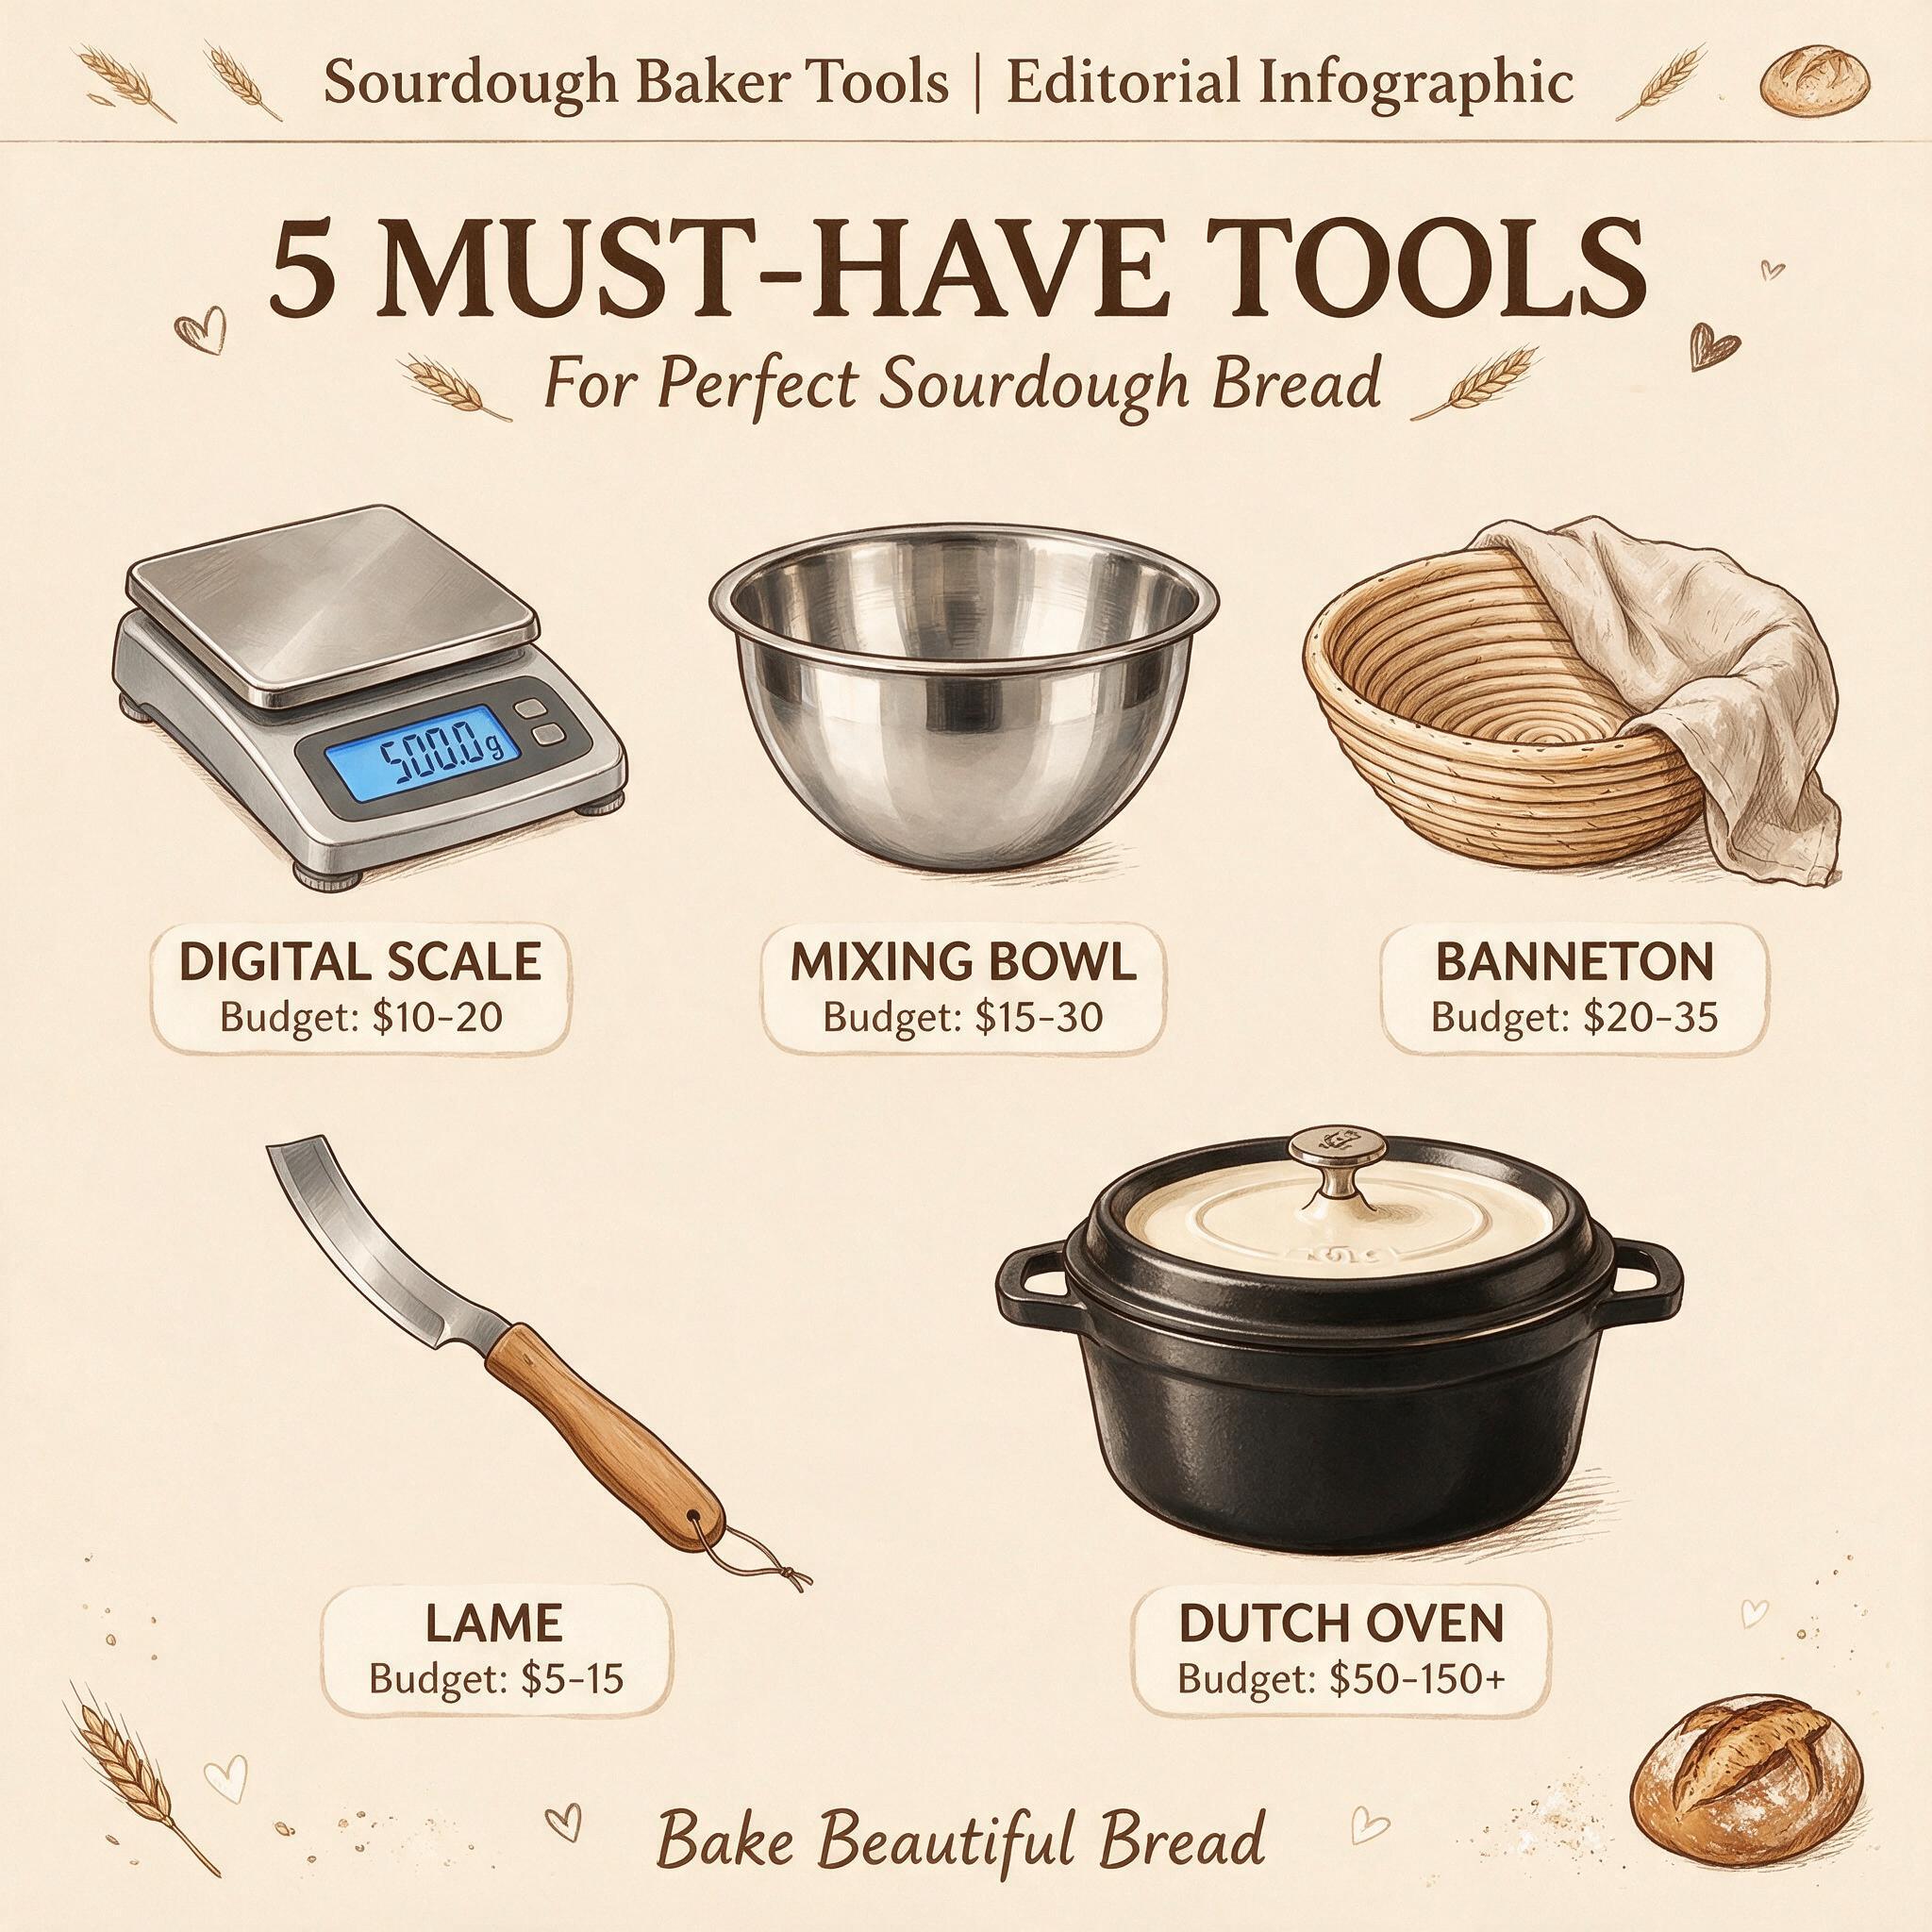
1. Kitchen Scale — The #1 Most Important Tool
Why it's essential: A cup of flour can weigh anywhere from 120g to 160g depending on how you scoop — a 33% swing in your most important ingredient. Weight measurements eliminate this inconsistency entirely. When recipes specify 500g flour, 350g water, 10g salt, you nail hydration percentages every time.
Without a scale, sourdough is guesswork. With one, it's chemistry. This single tool has done more for my consistency than any other piece of equipment. Period.
Best picks:
- •Budget: Etekcity scale (~$12–15), accurate and reliable after years of daily use per FLEX Sourdough
- •Mid-range: OXO 11-Pound Stainless Steel Scale (~$20–40), pull-out display, tare function
- •Tier 1 (The Perfect Loaf): Escali scale — lightweight, accurate, simple
Budget alternative: Any digital kitchen scale with a tare function and 1g accuracy. Costco carries decent options for ~$20. Even a $10 Amazon scale works fine for beginners. The brand matters far less than having one at all.
2. Dutch Oven / Steam-Trapping Vessel
Why it's essential: Sourdough needs steam during the first 20 minutes of baking. Steam keeps the crust soft so the dough can expand fully (oven spring). Without trapped steam, you get a flat, pale loaf with a thick crust. A Dutch oven traps moisture the dough naturally releases — lid on for 20 min, lid off for 20–25 min. No spray bottles, no ice cubes, no rigging towels.
Best picks:
- •Budget: Lodge Cast Iron Combo Cooker (~$40–50), versatile (bake bread on the inverted lid), virtually indestructible
- •Mid-range: Lodge Enameled Dutch Oven 6qt (~$50–80), made in USA, no chipping issues after years of use
- •Premium: Le Creuset Bread Oven ($250–350) — lightweight cloche at ~1 lb despite cast iron base, lifetime warranty
Key finding from Serious Eats testing: A $45 Lodge Dutch Oven produces results nearly identical to $300+ purpose-built bread ovens for occasional bakers. The main advantages of premium bread ovens are lighter weight (easier handling at 500°F) and better handle design — not significantly better crust or oven spring.
Critical design feature: Wide, looped handles on the base + a knob on top that's easy to grip one-handed while wearing oven mitts. Two-in-one Dutch ovens (Lodge Combo Cooker, Pit Boss) are awkward — handles align flat against each other, making it difficult to separate when hot at 500°F. A single-purpose round Lodge is easier to use than a two-in-one.
Budget alternatives:
- •Ceramic casserole dish with lid (any $20–30 enameled roaster from Walmart)
- •Two inverted baking sheets/loaf pans as a makeshift cloche — one as base, one as dome
- •Inverted pot over baking stone: Any heavy pot placed upside down over the loaf
3. Banneton (Proofing Basket) — Or Its Substitute
Why it's essential: After shaping, dough needs support during the cold proof (12–24 hours in fridge). Without a banneton, dough relaxes into a flat disc — all that shaping work is lost. The basket also absorbs excess moisture from the surface, creating a drier skin that scores more cleanly.
Best picks:
- •Budget: DOYOLLA 10-inch banneton (~$15), comes with cloth liner
- •Mid-range: Brød & Taylor rattan bannetons (8.5" boule or 10" batard) — stackable, sustainable materials
- •Serious Eats winner: Bulka Round Waffle Banneton (wood pulp) — absorbed the most moisture (3–4% of basket weight), produced tallest loaves, no liner needed, easiest to clean
Material comparison (Serious Eats tested 10 baskets):
| Material | Pros | Cons |
|---|---|---|
| Wood pulp | Best moisture absorption, no liner needed, easiest cleanup | Takes more fridge space (wide lip) |
| Wicker/rattan with linen | Good performance, narrow shape fits more on fridge shelves | Liner needs occasional washing; trapped moisture can cause mildew |
| Coiled rattan | Traditional look, good airflow between coils | Highest maintenance — liner must be removed and dried separately to prevent mold |
Wood pulp consistently outperforms traditional rattan in moisture absorption and ease of use. If you're buying one basket, go wood pulp. If you prefer the classic spiral pattern on your crust (which comes from coiled baskets), go with well-maintained rattan — but expect to wash and dry the liner periodically.
Budget alternatives:
- •Towel-lined bowl: Round mixing bowl (8–10") lined with linen or cotton kitchen towel (NOT terry cloth — too fluffy, leaves bumps in crust). Dust generously with rice flour (not all-purpose; rice flour doesn't absorb moisture, so dough releases cleanly)
- •Paper bag method: Cut the bottom out of a paper lunch bag, line inside with towel + rice flour
4. Bench Scraper — The $6 Workhorse
Why it's essential: Sourdough dough is sticky during bulk fermentation and folding. A bench scraper does three jobs: folding dough during stretch-and-fold sets, dividing dough for shaping, scraping stuck dough off counters. Without one, you're using fingernails and running water to clean up.
Best picks:
- •Budget: Plastic bench scraper (~$5–7), flexible edge slides under dough without tearing
- •Mid-range: OXO Bench Scraper (~$10–15) — sharp edge, measurement markings, dishwasher-safe
Budget alternative: A stiff plastic card (old gift card, credit card) works in a pinch. Any straight-edged kitchen spatula also functions. You don't need to buy anything special for this.
5. Bread Lame — Score With Confidence
Why it's essential: Scoring controls where the bread expands in the oven. Without a score, dough bursts open wherever it's weakest (usually bottom or sides), producing an ugly, lopsided loaf. A sharp lame cuts through sticky dough cleanly without dragging or deflating.
Best picks:
- •Budget: KneadAce Bread Lame (~$8–10) — holds standard double-edge razor blade securely
- •Mid-range: Wire Monkey UFO bread lame (straight edge, easy control for designs)
- •Premium: Mure & Peyrot lame (made in France), curved version for sourdough ears
Key tip from all sources: Keep blades sharp. A dull blade is worse than no blade. Swap every 3–4 bakes. Feather Razor Blades are the gold standard — surgical-sharp and cheap in bulk. Score at a 30-degree angle with one confident motion.
Budget alternative: Single-edge razor blade held at an angle, or even a sharp kitchen knife (though knives pull dough more than a lame). A simple pair of scissors works for decorative cuts.
Tier 2: Nice-to-Have (Worth It After You Bake 20–30 Loaves)
Instant-Read Thermometer
Why it's nice: "Golden brown" is NOT a reliable doneness indicator — some crusts brown before the interior is cooked. Internal temperature of 205–210°F is the only reliable way to know bread is done. Also useful for measuring dough temperature during bulk fermentation (a 78°F kitchen ferments significantly faster than a 68°F kitchen, changing timing by hours).
Best picks: Thermapen (~$100+) — gold standard but expensive; Antonki thermometer/hygrometer (~$20–40) reads ambient temp and humidity too. Any $12 instant-read does the same job as a $40 "bread thermometer" (same sensor, different marketing).
Budget alternative: Any cheap instant-read meat thermometer from a grocery store ($8–15). Accuracy is what matters, not branding. The Perfect Loaf comments confirm this repeatedly — buy the cheapest one that reads within 2°F of boiling water.
Bread Knife
Why it's nice: Sourdough crust can be extremely hard/crispy. A proper serrated bread knife with high-carbon stainless steel slices cleanly without crushing the crumb.
Best picks: Lamson Bread Knife (~$30–50), Dexter-Russell (~$15–25) — highly rated budget option, hefty and handles tough crusts at low price.
Budget alternative: Any good serrated knife (even a steak knife works for loaves that aren't heavily crusted). If you already own one, don't buy another until your current blade starts crushing the crust.
Mixing Bowls with Flat Bottoms
Why it's nice: Sourdough spends significant time in mixing bowls — autolyse, mixing, bulk fermentation, overnight proof. Flat bottoms don't shift during mixing, decreasing toppling risk.
Best picks: Vollrath graduated stainless steel bowls (~$15–25 each) — flat bases, virtually indestructible, dishwasher-safe, lightweight. Vintage Pyrex or stoneware from flea markets/yard sales work well too (free or $1–3).
Oven Gloves
Why it's nice: Dutch ovens reach 500°F. You need gloves rated for at least 500°F for 15–30 seconds, with grip and flexibility. Forearm-length protection is useful for high-sided Dutch ovens to avoid wrist burns when lowering dough inside.
Best picks: Ove Glove (~$15–25) — grips, rated to 540°F/282°C, flexible; LANON liquid silicone gloves (~$20) — waterproof, rated -100°F to 570°F, forearm protection, easy to clean.
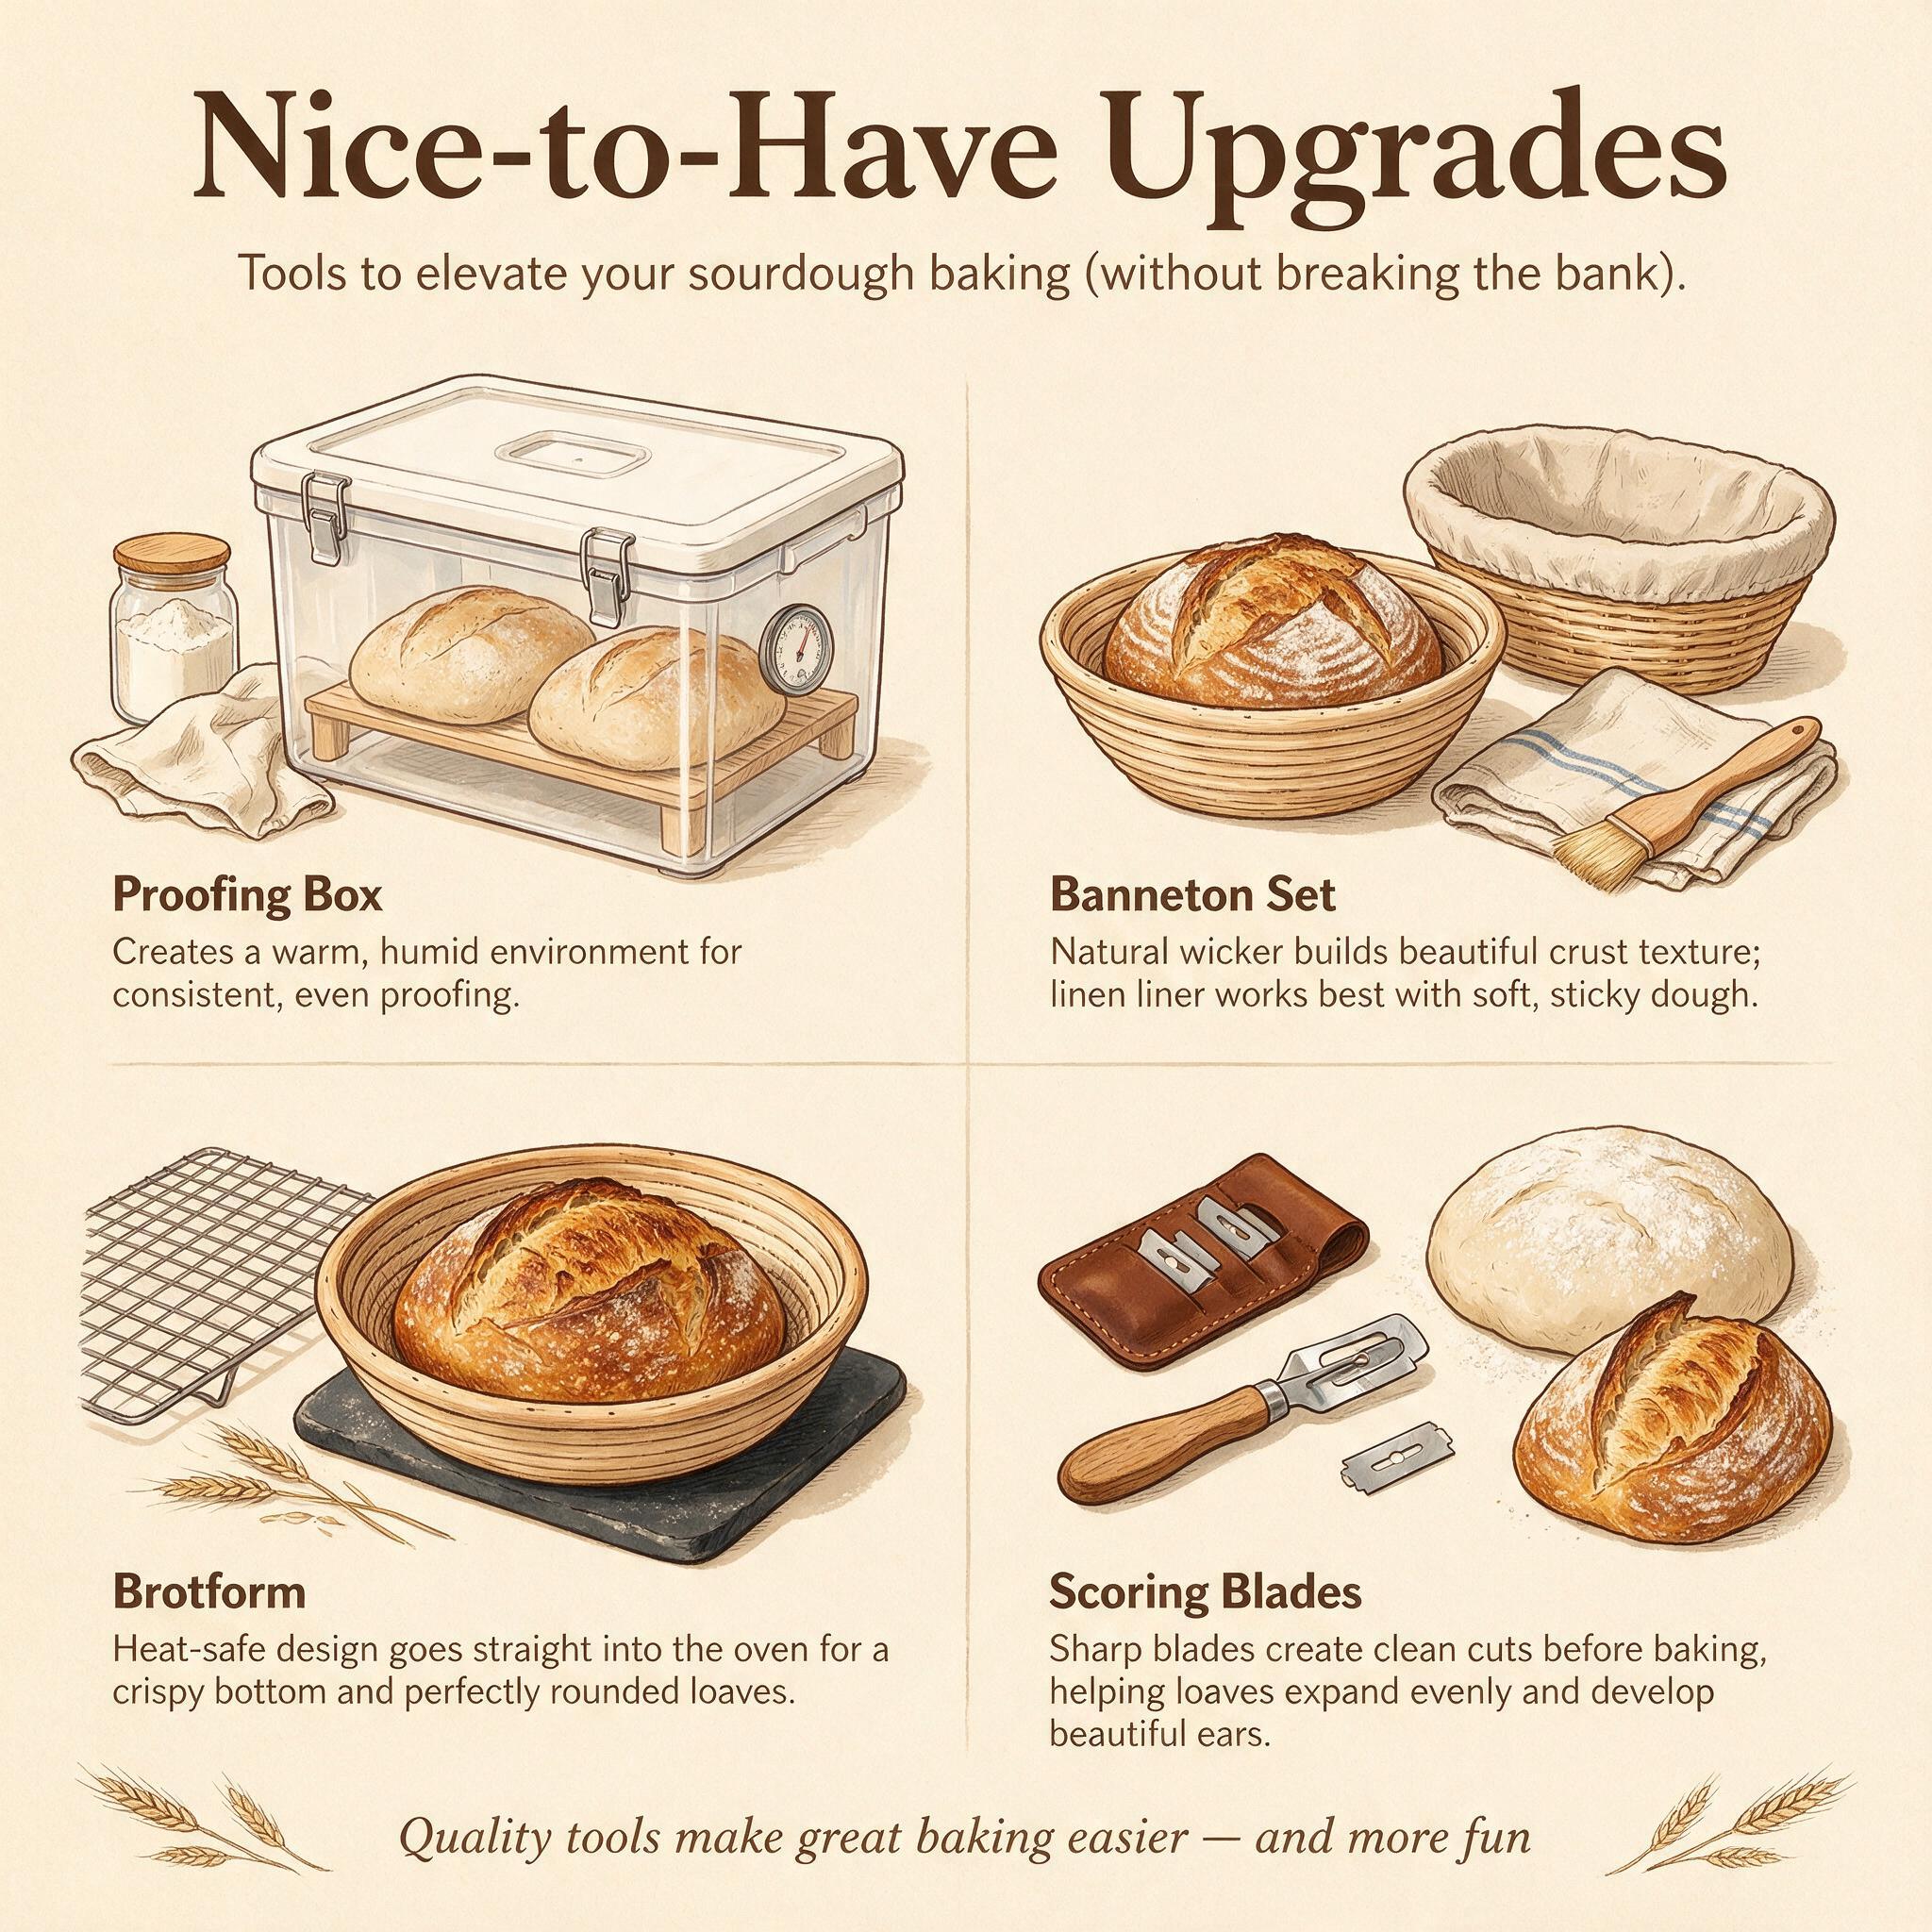
Tier 3: Nice-to-Have (Convenience Upgrades)
Brød & Taylor Folding Proofer ($250–400+)
Why it's nice: Maintains constant proofing temperature (range: 70–120°F / 21–49°C). Solves proofing issues in variable-temperature kitchens. Folds flat for storage. Can also function as a slow cooker.
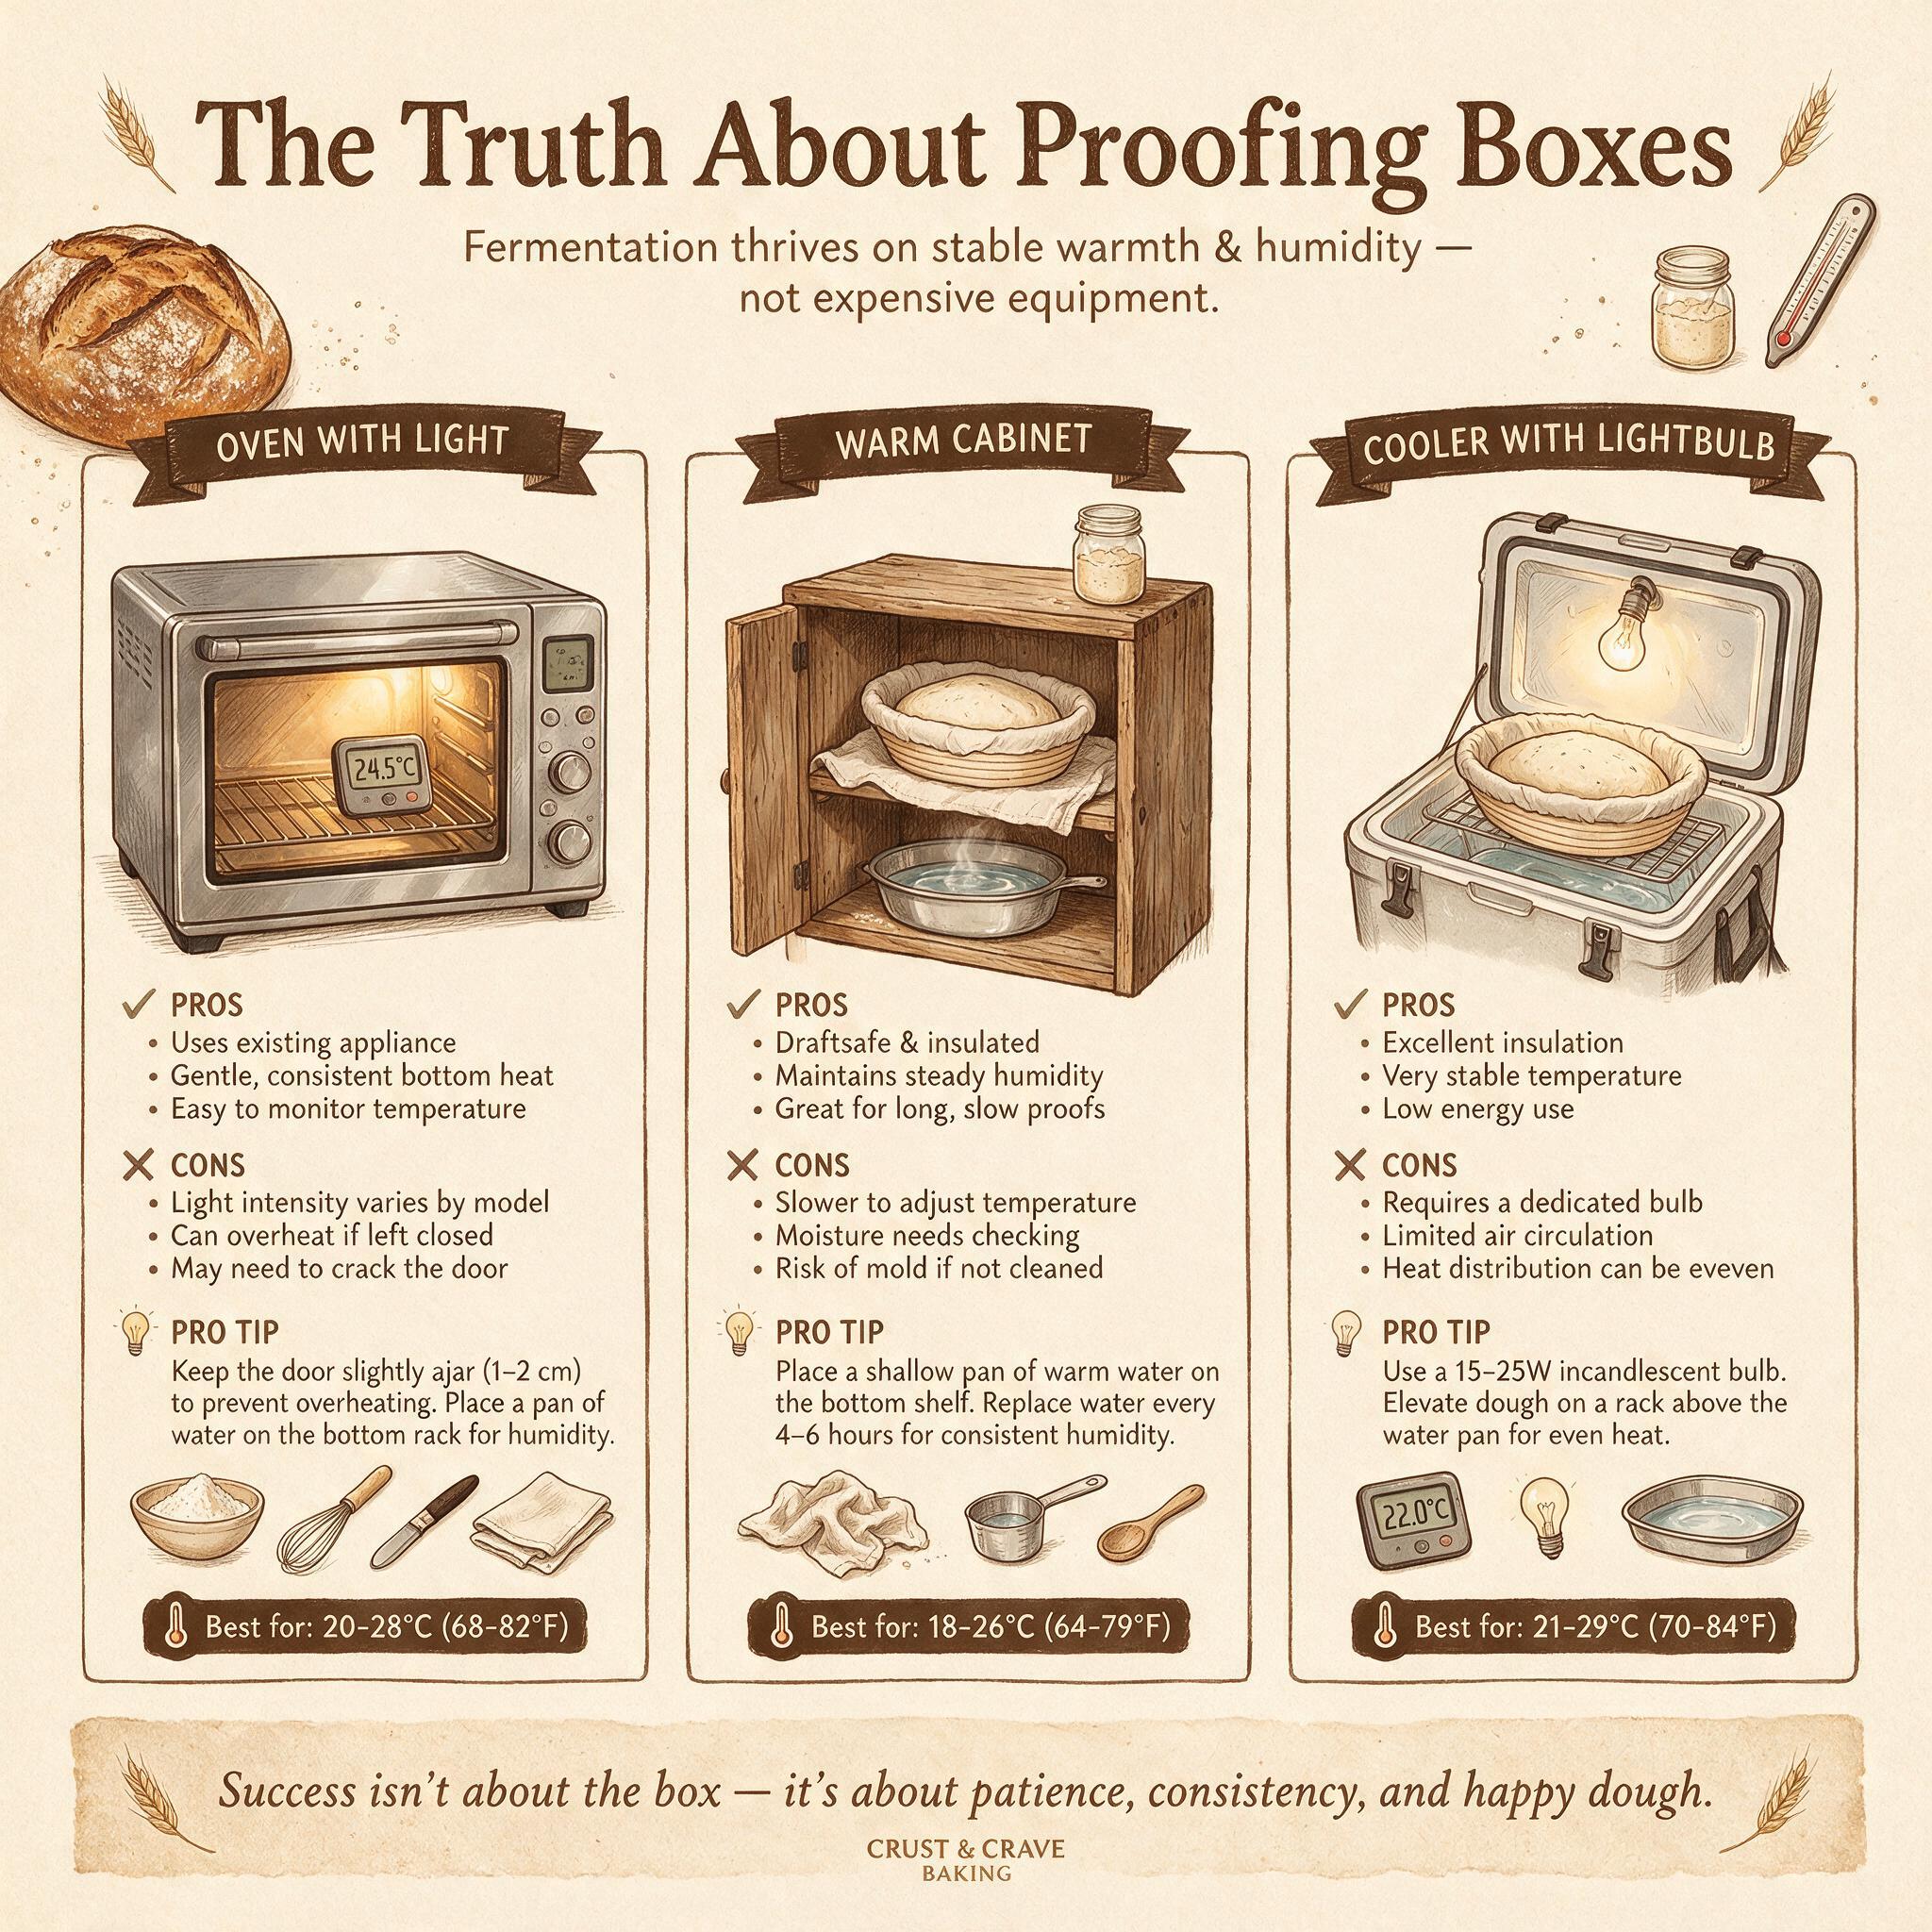
Is it essential? No. Your fridge is a proofing box (cold retard develops flavor and adds schedule flexibility). The microwave with door open + bowl of hot water + thermometer can maintain ~80°F for room-temperature proofs. Verdict: luxury for high-volume bakers or those in very cold/hot kitchens.
Budget alternative: Fridge = proofing box for cold retard. For warm-proofing: turn oven on to lowest temp (~170°F), turn it off, place dough inside with thermometer — or use a cheap yogurt maker (~$25) as a proofer. Many bakers also wrap their bowl in towels and set it near a warm appliance (top of fridge, behind radiator).
Sourdough Starter Warmer (~$80–120)
Why it's nice: Keeps starter at optimal 75–82°F range, sleek glass design, fits multiple jar sizes.
Budget alternative: Insulated container with warm water bottle, or a small cooler box with warm towels. The fridge/dark cupboard method works fine for most bakers who feed daily.
Grain Mill (~$280–350)
Why it's nice: Stone-milling your own wheat berries (einkorn, spelt, rye) produces fresher flour with more nutrients and flavor than store-bought. NutriMill Harvest ($349) is the recommended mid-range option; NutriMill Classic ($279) is budget pick.
Budget alternative: Buy pre-milled specialty flours from local mills or online (King Arthur, Bob's Red Mill). Not free, but eliminates a $300+ appliance if you bake infrequently. Freshly milled flour is noticeably thirstier than bagged store flour and goes rancid faster due to germ oils — so it's best for bakers who mill weekly rather than monthly.
Dough Whisk (~$10–20)
Why it's nice: Danish dough whisks help mix flour and water together with less effort — particularly helpful for high-hydration doughs (85%+) or low-protein flours like einkorn.
Budget alternative: Your hands work fine. A large spoon or silicone spatula also mixes adequately. You don't need a specialized whisk unless you're mixing by hand and the dough is very stiff.
Tier 4: Straight-Up Hype (Skip Unless You're Serious)
Stand Mixer ($300+)
Why it's hype: Stretch-and-fold technique builds gluten without a mixer in ~8 minutes total (2 min × 4 sets). Your hands give you tactile feedback a machine can't — you feel dough development. A stand mixer solves a problem most home bakers don't have.
Verdict: Skip entirely unless you bake multiple loaves daily and need the labor savings. For almost everyone, hand mixing + folding is faster than setting up a mixer, cleaning the bowl, and dealing with the attachment.
Specialty Sourdough Thermometers ($40+)
Why it's hype: Same sensor as any $12 instant-read thermometer, just branded "bread-specific" with a different casing. Some even add hygrometers (humidity readers) which are nice but not essential for bread baking.
Verdict: Buy a cheap instant-read. The Perfect Loaf comments confirm this repeatedly.
Scoring Stencils and Stamps (~$15–30)
Why it's hype: Decoration, not function. Master one confident slash before buying bread art accessories. These are fun once you've baked 20+ loaves consistently but won't improve your bread at all.
Verdict: Skip until after you can score a clean, consistent ear on demand. Bread art is the sourdough equivalent of icing on a cake — nice, but not where effort should go first.
Marble Slabs
Marble pastry boards are everywhere in sourdough content but serve a narrow use case. What marble actually does: stays cool (5–10°F cooler than room temperature). This helps when working with butter-based doughs (pie crust, puff pastry) where you need to keep fat solid. For sourdough specifically: marble can help if your kitchen is very warm (>80°F) and you're doing long bulk ferments on the counter — the cool surface slows fermentation slightly during folding sessions.
Verdict: Hype for sourdough. Useful if you also bake pastry/pie crusts. If your kitchen runs warm, a marble slab is a mild convenience. Budget alternative: any cool countertop or a cheap cutting board from the dollar store. For pastry: freeze a regular baking sheet for 15 minutes as a cold surface substitute. Professionals prefer wood (better texture to hold dough and flour in place) — marble is stickier and slide-ier than wood per Reddit r/AskCulinary consensus.
"Specialty" Sourdough Starter Jars with Growth Markings (~$25–40)
Why it's hype: Fancy jars with measurement lines and special bands for tracking feed times look nice on Instagram but a regular glass jar (mason jar, Weck jar, any repurposed pasta sauce jar) works identically. The only advantage is aesthetics.
Verdict: Use a clear glass jar you already have. If visual feedback matters, straight-sided jars (Weck, mason) let you mark levels with a rubber band — same function as "growth markings."
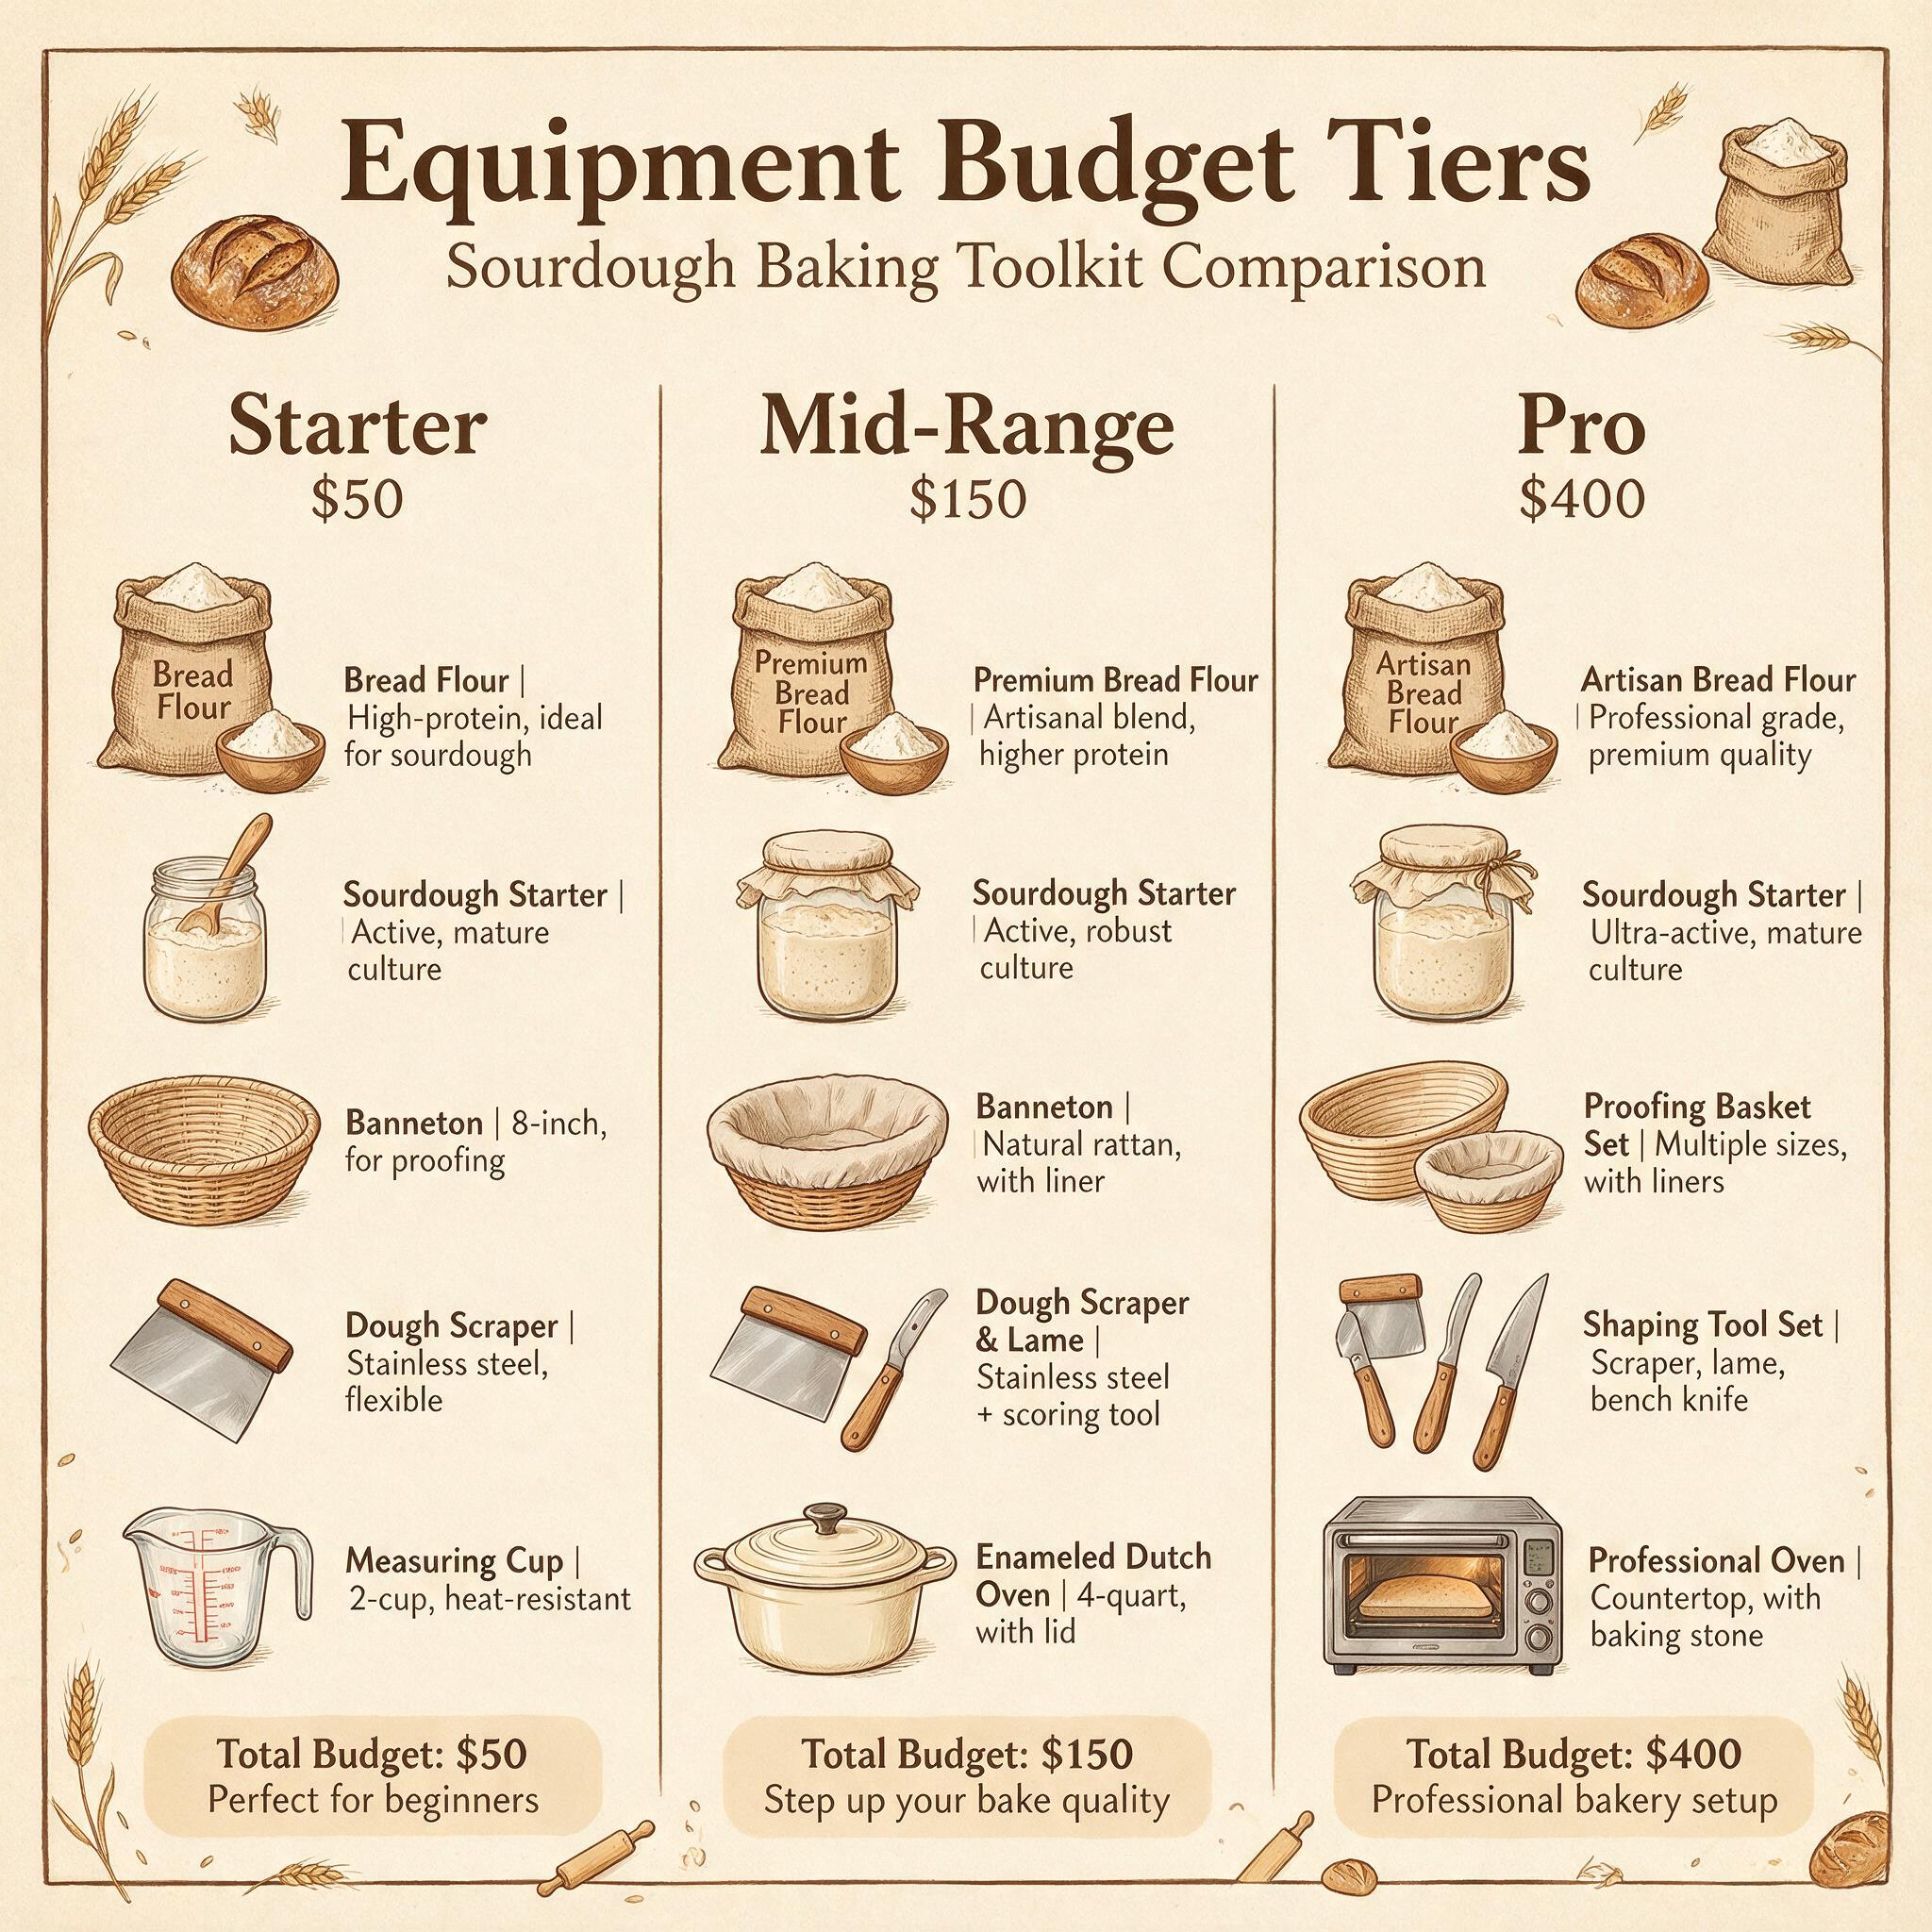
Complete Budget Breakdown
Minimum Viable Kit (~$79–92)
| Tool | Budget Pick | Cost |
|---|---|---|
| Kitchen scale | Etekcity | $12 |
| Dutch oven | Lodge 5qt Cast Iron Combo Cooker | $40 |
| Banneton substitute | Bowl + kitchen towel + rice flour | Free |
| Bench scraper | Plastic bench scraper | $6 |
| Bread lame | KneadAce with razor blades | $11 |
| Instant-read thermometer | Generic instant-read | $10 |
| Cooling rack | Any wire rack (often free from takeout) | Free |
| Mixing bowl | Existing bowl | Free |
| Total | ~$79–92 |
Mid-Range Kit (~$250–350)
Adds: Brød & Taylor banneton ($40), OXO scale ($30), Lodge enameled Dutch oven ($60 upgrade from combo cooker), Thermapen-style thermometer ($40), Lamson bread knife ($30), Vollrath bowls ($50). This kit covers everything you'll need for the next several years of baking.
Premium Kit ($700+)
Adds: Challenger Bread Pan ($299), Brød & Taylor proofer ($350), grain mill ($300+), Weck jars ($30+), premium lame set ($40+). Only worth it if you bake weekly or more and value convenience over cost.
Frequently Asked Questions
Can I really bake great sourdough with just a Lodge Dutch Oven?
Yes. Serious Eats tested 7 bread ovens (including purpose-built cloches from Le Creuset at $250–350) and found that a $45 Lodge produces nearly identical results for occasional bakers. The performance gap is in weight and handle design, not crust quality or oven spring. For most home bakers, the Lodge is all you need.
Is a baking steel better than a Dutch oven?
Baking steel conducts heat 18× faster than ceramic stone and holds significantly more thermal energy, which can produce slightly better bottom crust on baguettes and pizza. But for standard sourdough loaves in a Dutch oven, the difference is marginal — a properly preheated Lodge does ~90% of what a baking steel setup does. The steel wins for multiple-loaf sessions (doesn't need reloading) or when you bake baguettes regularly.
Do I really need a banneton? Can't I just use a bowl and towel?
Yes, absolutely. A well-lined bowl with rice flour works perfectly fine — it's what most sourdough bakers used for decades before proofing baskets became popular on Instagram. The basket absorbs moisture from the surface (creating a drier scoring skin) and provides structural support during proofing, but a thick linen towel + generous rice flour does both of those things adequately. The spiral pattern on your crust will be different (basket creates concentric rings; towel creates no pattern), but the bread itself is identical in taste and texture.
What's the one piece of gear worth splurging on?
If you're going to spend more than the minimum kit, prioritize a good thermometer ($20–40 range) over everything else. Knowing your dough temperature during bulk fermentation changes how you read timing across every bake — it turns "maybe 5 hours" into "at this temperature, roughly X hours." It's the difference between guessing and knowing.
Closing Thoughts
The sourdough equipment landscape is full of upsells — fancy jars, specialty thermometers, bread ovens that cost more than a decent Dutch oven. But at its core, sourdough is flour, water, salt, time, and a bit of heat management. You don't need much to do it well.
My personal kit: Lodge Dutch Oven ($45), Etekcity scale ($12), KneadAce lame with razor blades ($8), a towel-lined bowl for proofing (free), and a $12 instant-read thermometer from Amazon. Total investment: under $80. I've baked hundreds of loaves with this setup, and the results are indistinguishable from what people bake with $500+ in gear.
Buy the essentials first. Bake 20–30 loaves at that level. Then decide what you actually want to upgrade — not what looks cool on Instagram. The best equipment is the stuff that sits in your kitchen and gets used, not the fancy stuff gathering dust in a cupboard because you convinced yourself you needed it.
Happy baking!