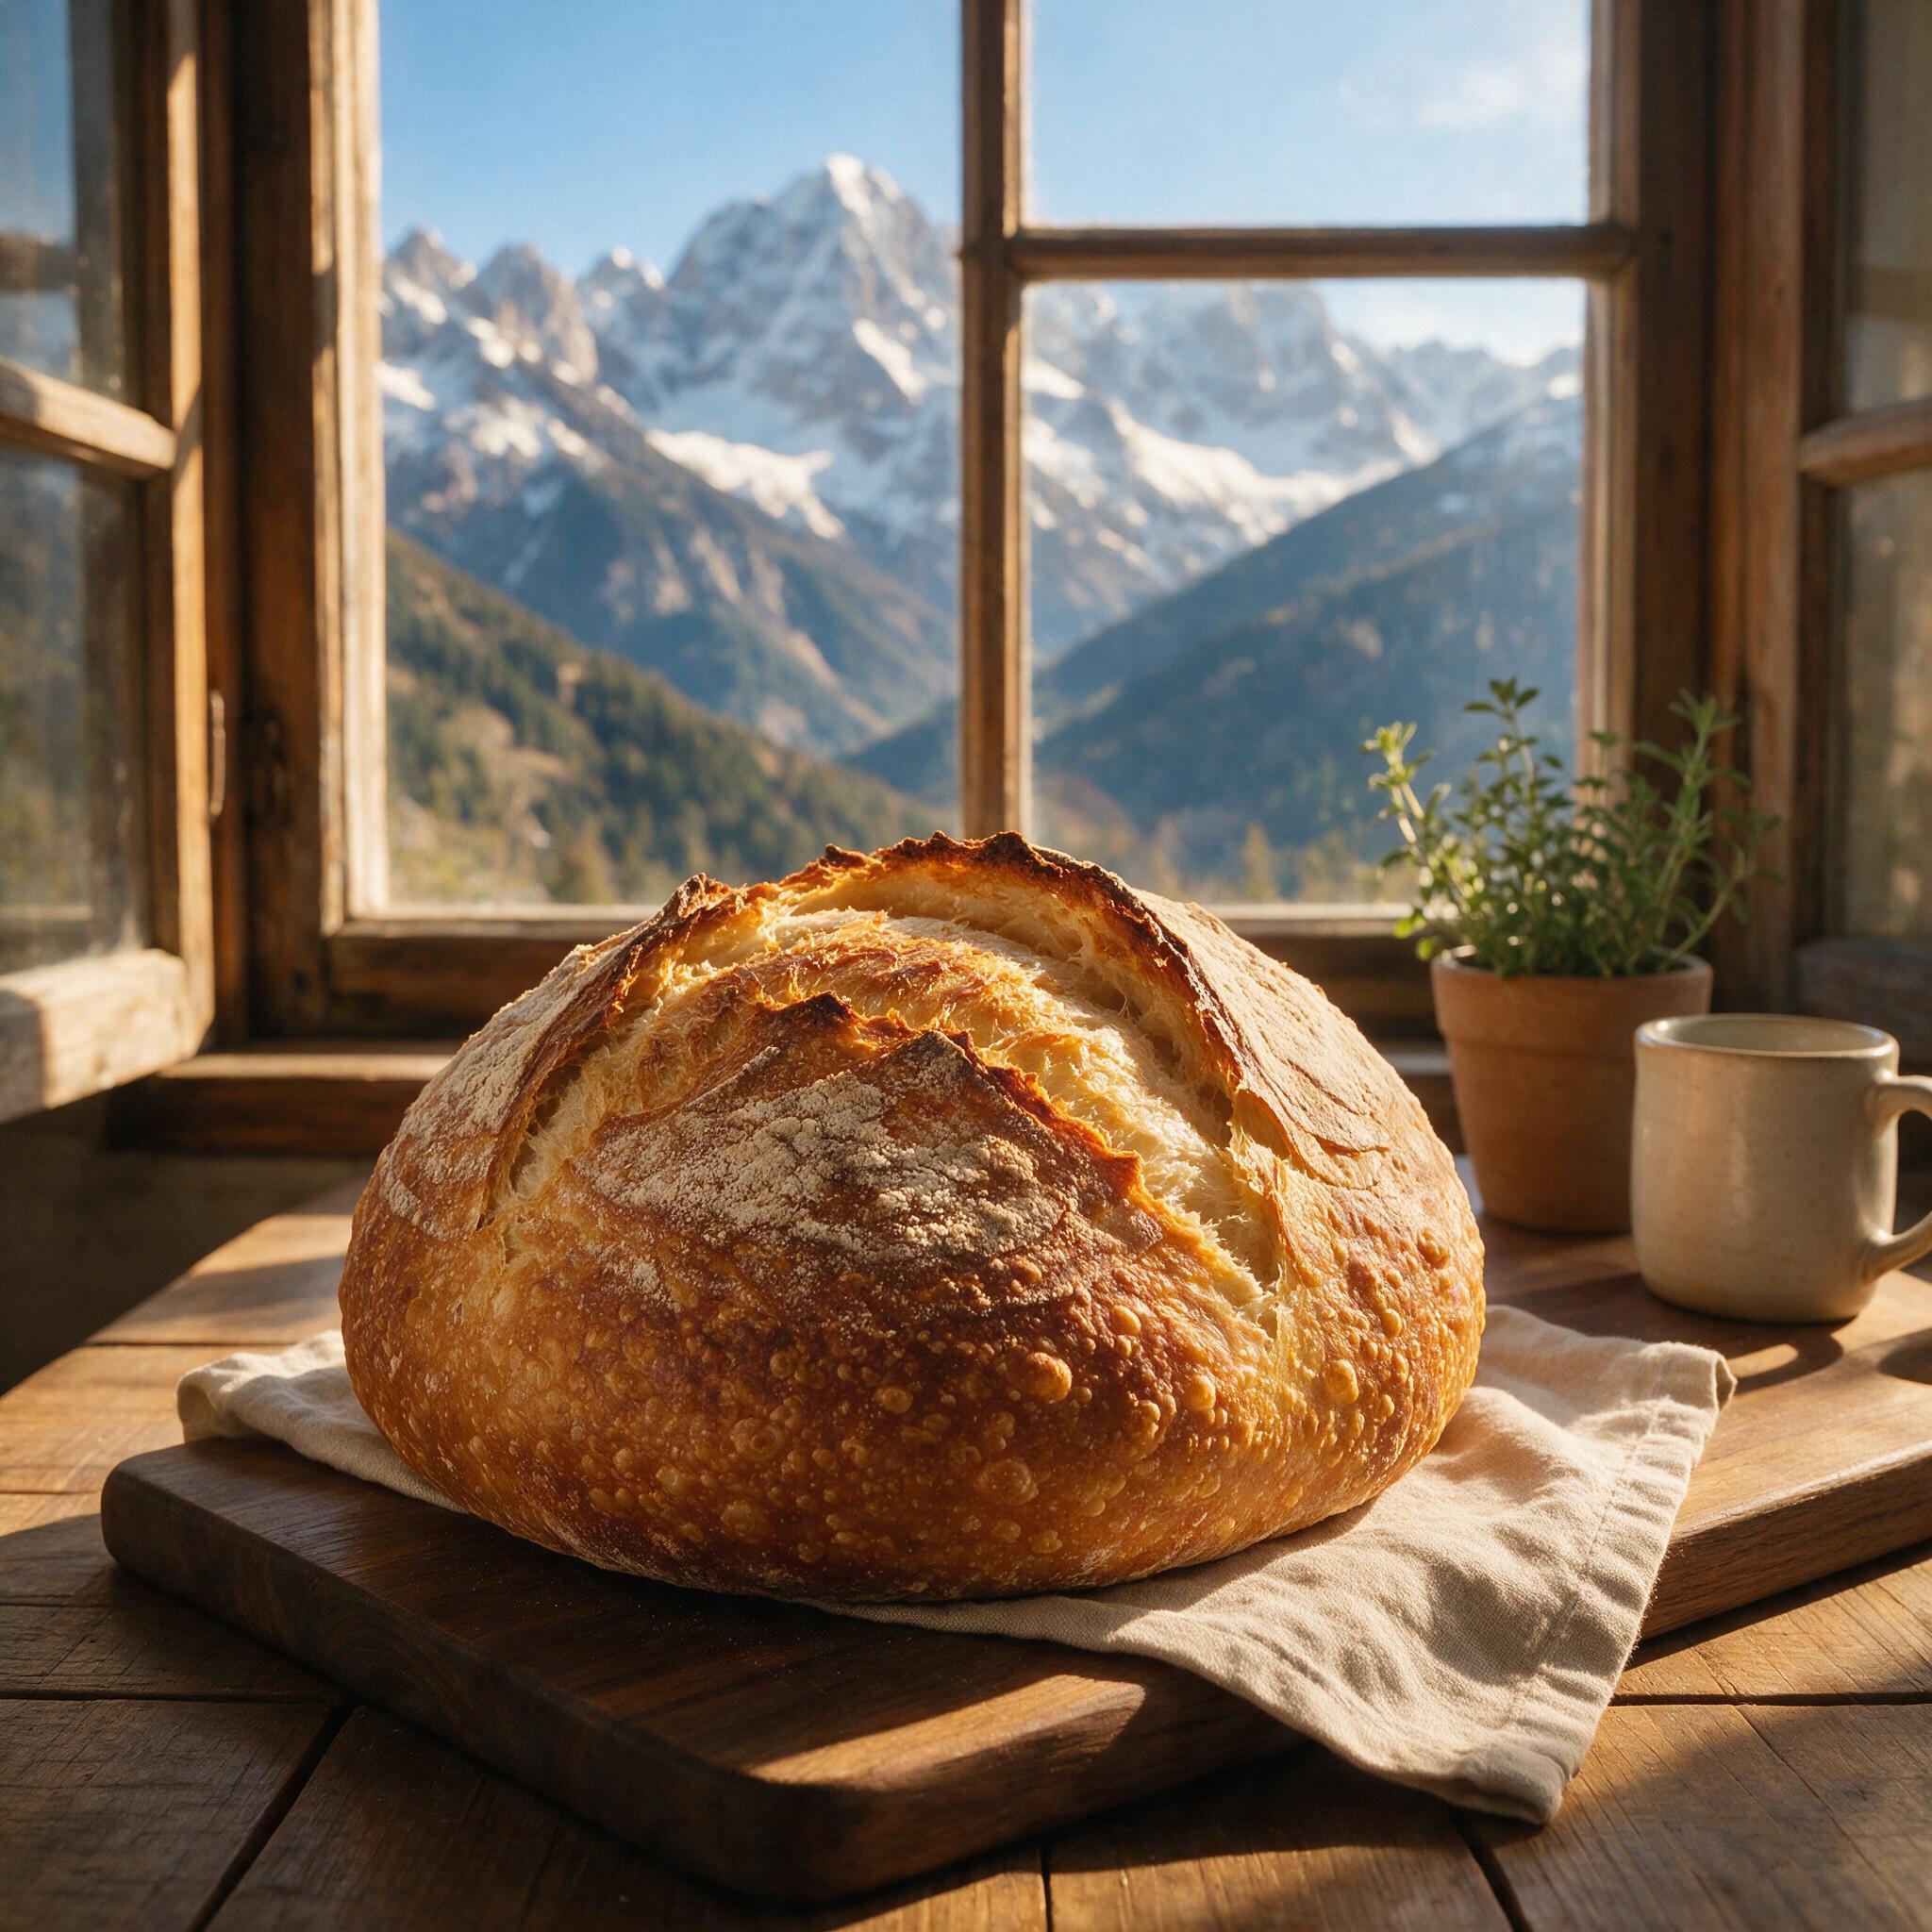
Sourdough baking at altitude is a different craft. The lower atmospheric pressure means gases expand faster (your dough rises more aggressively), the drier air means your flour absorbs water differently, and water boils at a lower temperature so your bake is effectively cooler. Bakers at sea level have to do very little; bakers at 5,000+ feet have to make systematic adjustments to almost every variable.
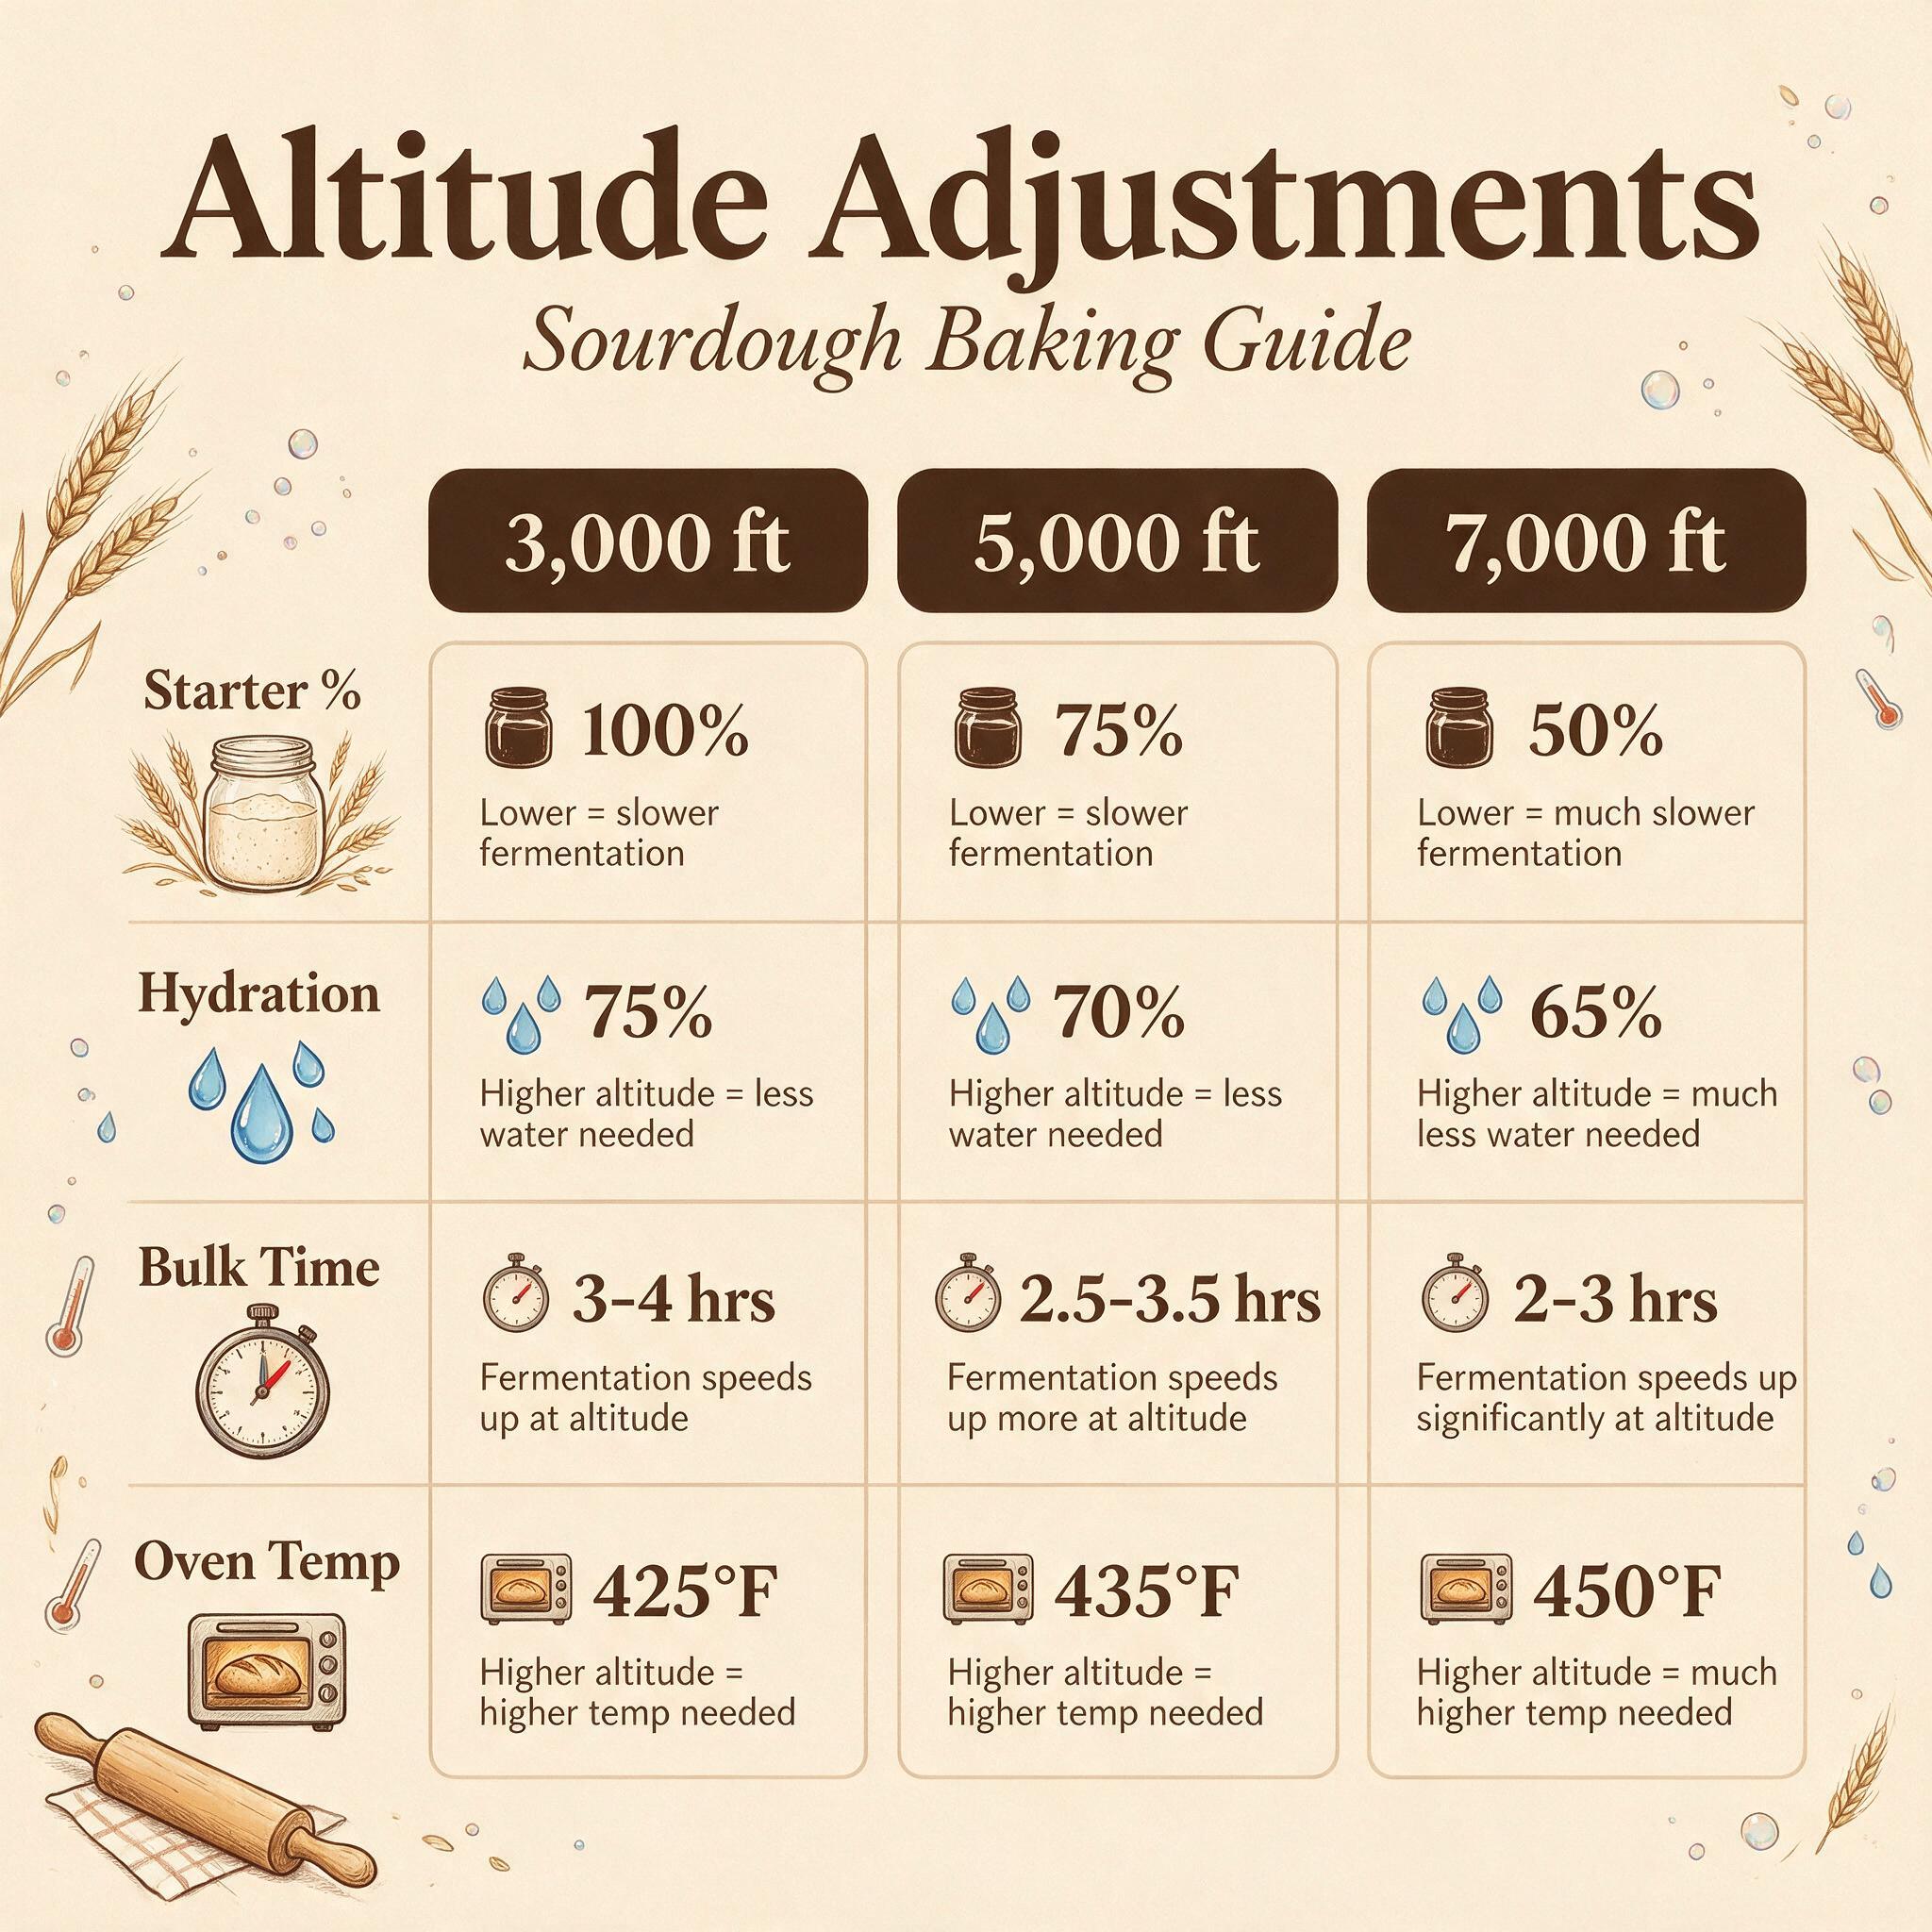
This guide covers exactly what changes at altitude and why, the specific adjustments for each variable (starter percentage, hydration, oven temp, bulk time), and a per-elevation cheat sheet for the most common altitudes (3,000 / 5,000 / 7,000+ feet). The adjustments are cumulative — if you're at 5,000 feet, you apply both the 3k and 5k adjustments.
A quick way to know this applies to you: if your loaves consistently over-proof in a way they didn't used to, or your crumb is more open and irregular than recipes suggest it should be, you're probably seeing altitude effects. Apply the adjustments below and your bread will come out much closer to what the recipe author intended.
Why Sourdough Breaks at Altitude
Three things change as you go up in elevation, and all three affect sourdough specifically (more than yeasted bread, because sourdough depends on long fermentation times).
1. Lower atmospheric pressure. At 5,000 feet, atmospheric pressure is about 84% of sea level. At 7,000 feet, it's about 78%. Gases expand more easily in lower pressure, which means your dough rises faster. The same bulk time that produces perfect fermentation at sea level produces over-fermentation at altitude. The result: a slack, over-proofed dough that flattens in the oven instead of springing.
2. Drier air. Humidity is generally lower at altitude (the air has less capacity to hold moisture). Your flour is drier, your dough loses moisture to the air faster, and the crust sets differently during baking. The result: a stiffer dough and a thicker crust than the recipe author expected.
3. Lower boiling point of water. Water boils at 212°F at sea level, but only 198°F at 7,500 feet. Your oven temperature setting is the same, but the actual baking environment is cooler because the steam inside the loaf isn't as hot. The result: underbaked interior.
These three effects compound. A 7,000-foot baker is dealing with all three simultaneously.
The Adjustments (5 Variables)
You have five variables to play with. The adjustments below are starting points — you'll need to fine-tune for your specific elevation, flour, and kitchen.
1. Reduce Starter by 20-25%
The single most important change. At sea level, a 20% inoculation (200g starter per 1kg flour) is standard. At altitude, drop to 15-16%. Less yeast means slower fermentation, which compensates for the faster gas expansion.
- •Sea level: 20% starter (200g per 1000g flour)
- •3,000-5,000 feet: 17-18% starter
- •5,000-7,000 feet: 15-16% starter
- •7,000+ feet: 12-15% starter
This is the change with the biggest impact. If you only make one adjustment, make this one.
2. Increase Hydration by 3-5%
Drier air means drier flour, and drier flour needs more water. Add 3% to whatever hydration the recipe calls for, and bump up to 5% if you're at 5,000+ feet.
- •Sea level recipe calling for 75% hydration:
- 3,000-5,000 feet: 78% hydration
- 5,000-7,000 feet: 80% hydration
- 7,000+ feet: 80-82% hydration
Higher hydration also helps with the faster gas expansion — wetter dough is more extensible and can hold the gas better. Be aware that very high hydration (80%+) is harder to shape. Use a stiff starter (100% hydration or less) and longer autolyse to develop the gluten.
3. Increase Oven Temperature by 25°F (or Bake Longer)
To compensate for the lower boiling point and faster crust set, either bake hotter or bake longer. Most sea-level recipes call for 450-500°F. At altitude:
- •3,000-5,000 feet: Add 25°F to the recipe temp
- •5,000-7,000 feet: Add 25°F OR add 10-15 minutes to bake time
- •7,000+ feet: Add 25°F AND add 10-15 minutes
The hotter oven is more important if you're getting a pale, thick crust. The longer bake is more important if you're getting a gummy interior (even though the crust looks fine). Often you need both.
4. Shorten Bulk Fermentation
At sea level, a typical bulk is 4-6 hours. At altitude, drop by 30-60 minutes:
- •Sea level: 4-6 hours at 76°F
- •3,000-5,000 feet: 3-5 hours
- •5,000-7,000 feet: 2.5-4 hours
- •7,000+ feet: 2-3 hours
Use the visual cues more than the timer. The dough should rise 30-50% by volume (not double) — at altitude, doubling happens too fast. Watch the dough, not the clock.
5. Use Less Salt (Optional)
Salt slows yeast. At altitude, you can reduce salt by 5-10% to compensate for the slow yeast:
- •Sea level: 2% salt
- •Altitude: 1.8-1.9% salt
This is optional and most people don't bother. The starter reduction (above) does most of the work. Skip this if you're not seeing significant over-proofing.
Per-Elevation Cheat Sheet
3,000-4,500 feet (Denver, Santa Fe, Aspen, SLC, Boise)
- •Starter: 17-18% (down from 20%)
- •Hydration: 78% (up 3%)
- •Bulk: 3-5 hours at 76°F
- •Oven: 475°F instead of 450°F (or add 10 minutes to bake time)
- •Cold retard: Same as sea level, 12-16 hours
This is the easiest altitude to adjust for. Most bakers in this range get away with just the starter and oven adjustments.
5,000-6,500 feet (Flagstaff, Leadville, Taos, parts of Colorado)
- •Starter: 15-16% (down from 20%)
- •Hydration: 80% (up 5%)
- •Bulk: 2.5-4 hours at 78°F (warmer to compensate for faster gas expansion)
- •Oven: 500°F instead of 450°F (or add 15 minutes to bake time)
- •Cold retard: 10-14 hours (shorter than sea level)
This is the toughest range. The pressure is low enough that over-proofing is fast, but not so low that the loaf benefits from extreme hydration. You need to be precise with the bulk.
7,000+ feet (Most of Colorado ski towns, Bolivia, Peru, Tibet, Ethiopia highlands)
- •Starter: 12-15% (down from 20%)
- •Hydration: 80-82% (up 5-7%)
- •Bulk: 2-3 hours at 80°F
- •Oven: 500°F + 15 extra minutes
- •Cold retard: 8-12 hours (much shorter)
At this altitude, you're basically adapting a completely different craft. The gas expansion is aggressive, the bake is cool, and the dough dehydrates fast. The adjustments above are starting points — you'll need to experiment with your specific conditions.
A Common Mistake: Skipping the Bulk Adjustment
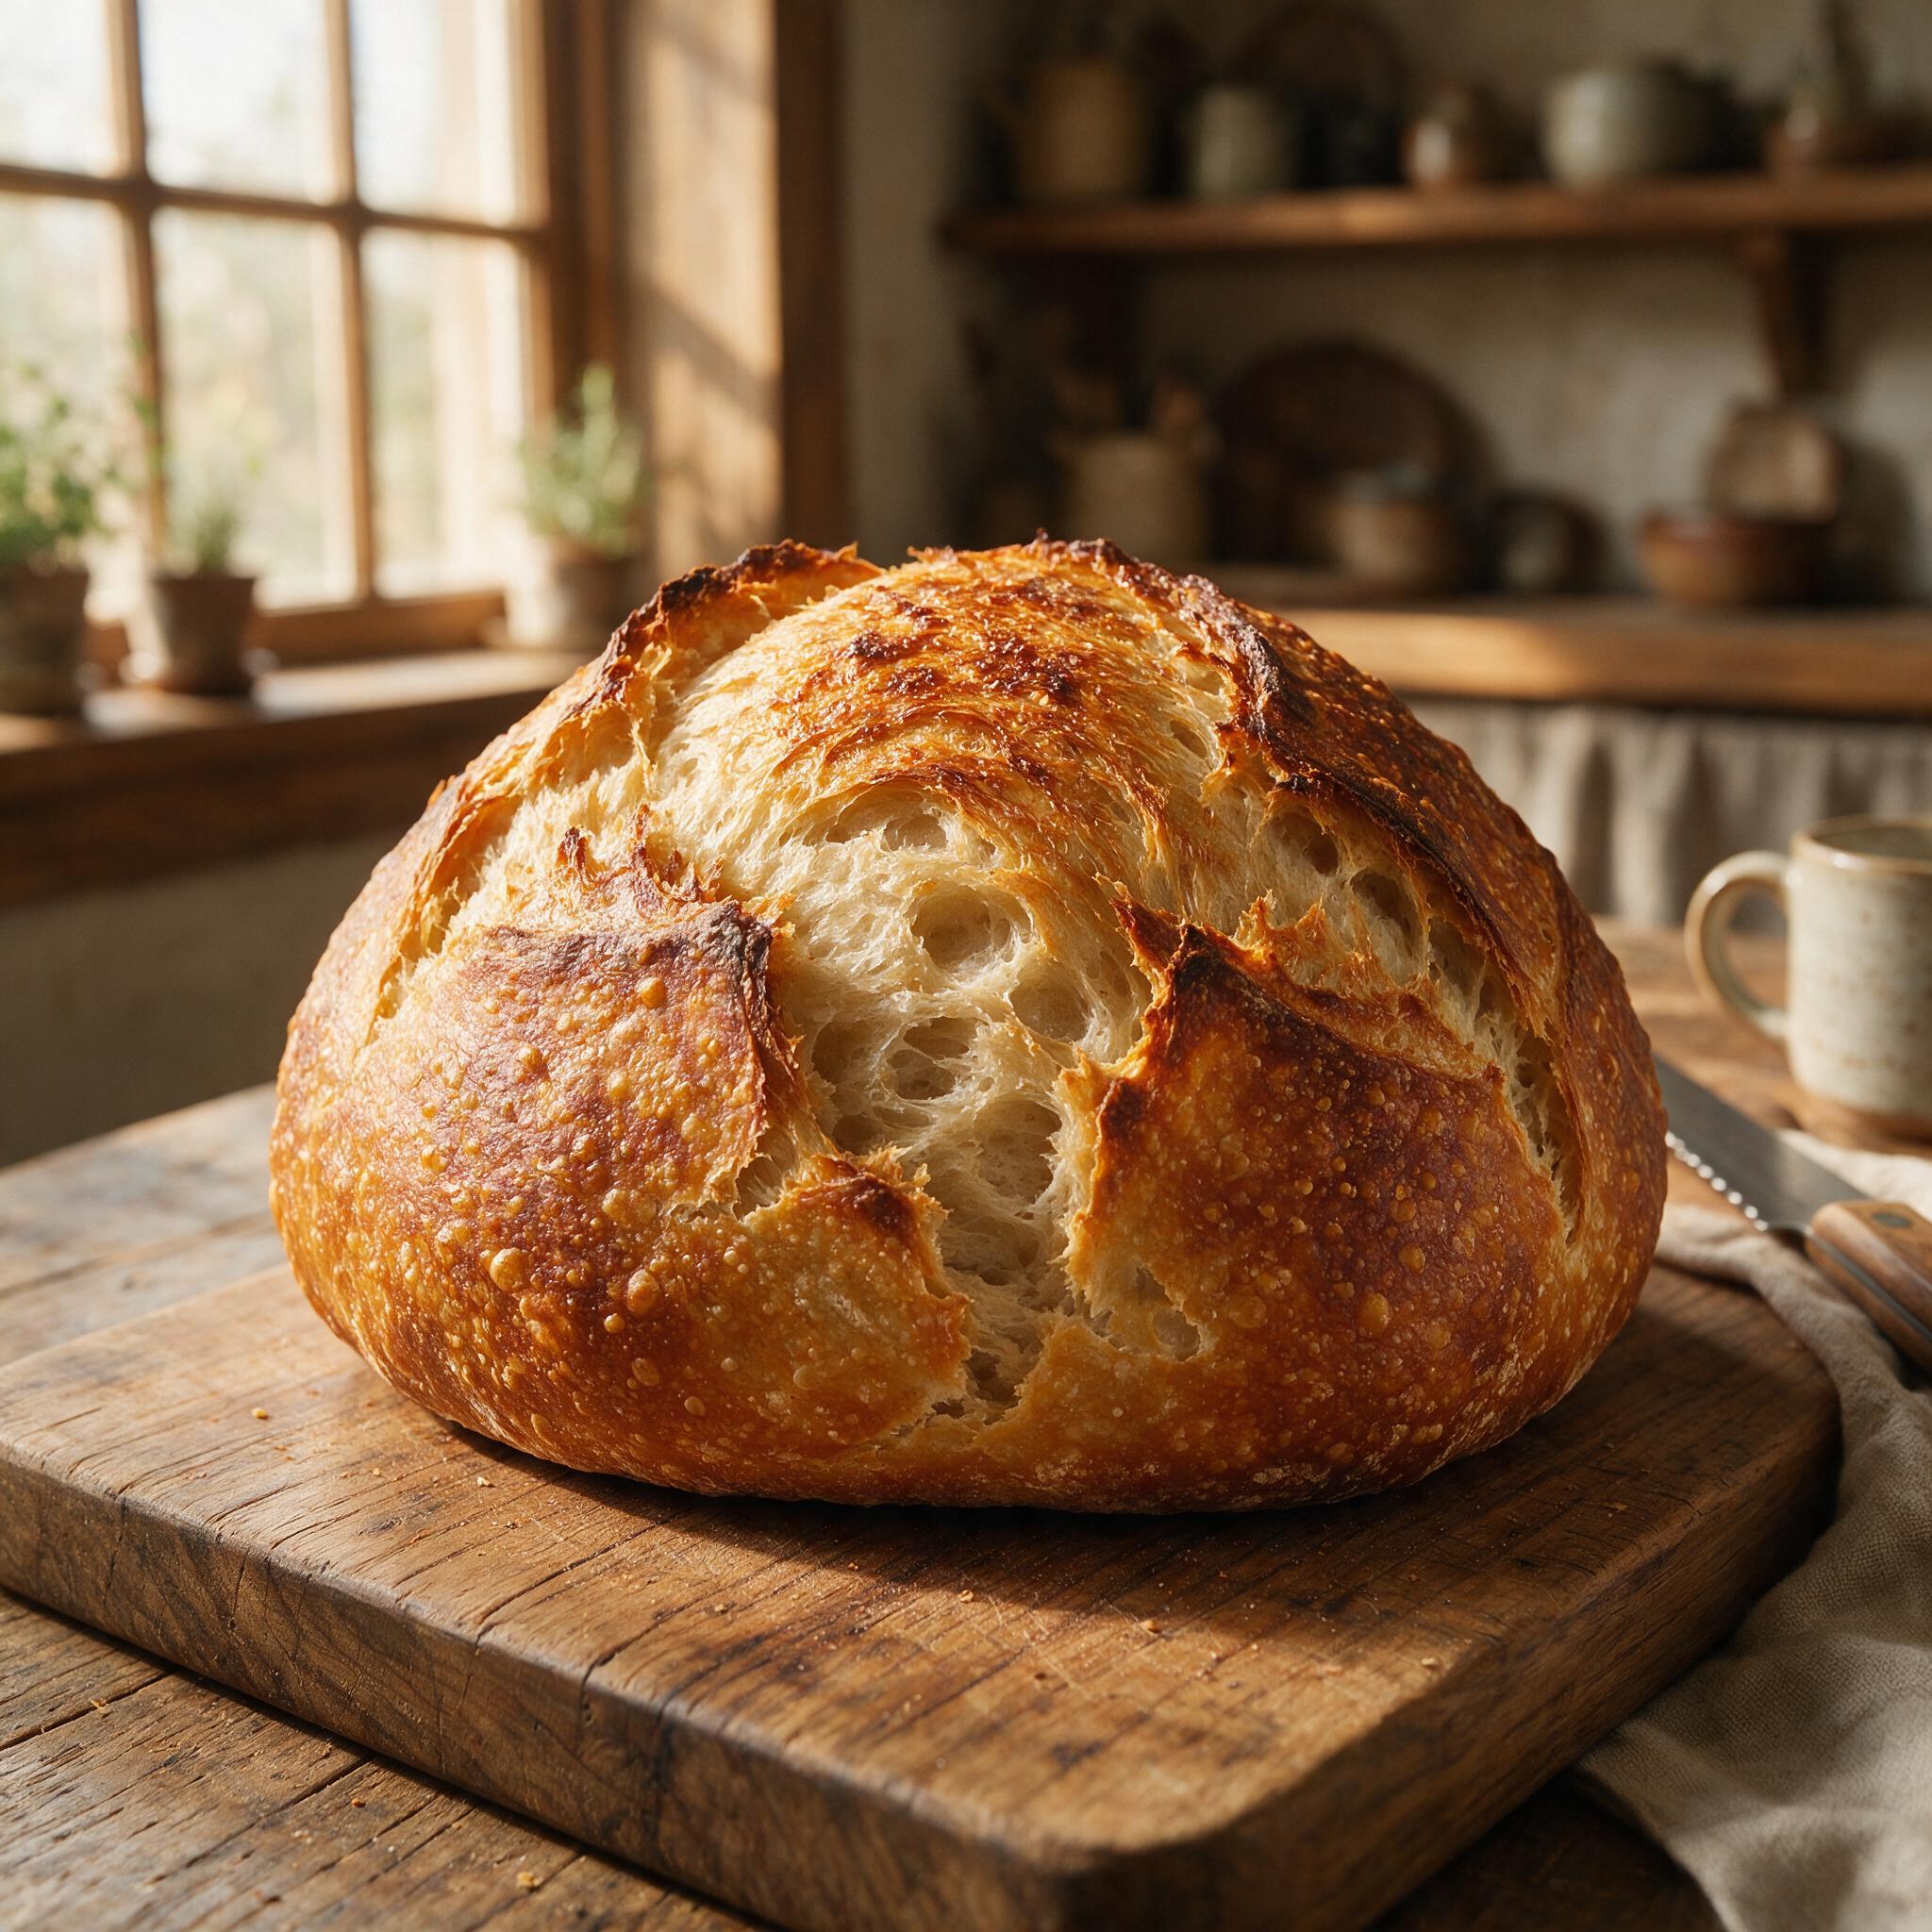
Many altitude bakers reduce the starter and call it done. But if you don't also shorten the bulk and bump the hydration, you'll still over-proof — just slower than before. The starter reduction slows the bulk; the bulk shortening ensures you catch the right window.
A bakers at altitude who says "I reduced the starter to 15% and my dough still over-proofed" almost certainly has a bulk that's still too long for the conditions. The fix is to shorten the bulk by 30-60 minutes, not to reduce the starter further (which will weaken the bread).
Watch the dough, not the timer. At altitude, the window between "ready to shape" and "over-proofed" is shorter than at sea level. The visual cues — 30-50% rise, domed surface, jiggly when shaken — are reliable across altitudes.
Does the Dutch Oven Trick Work at Altitude?
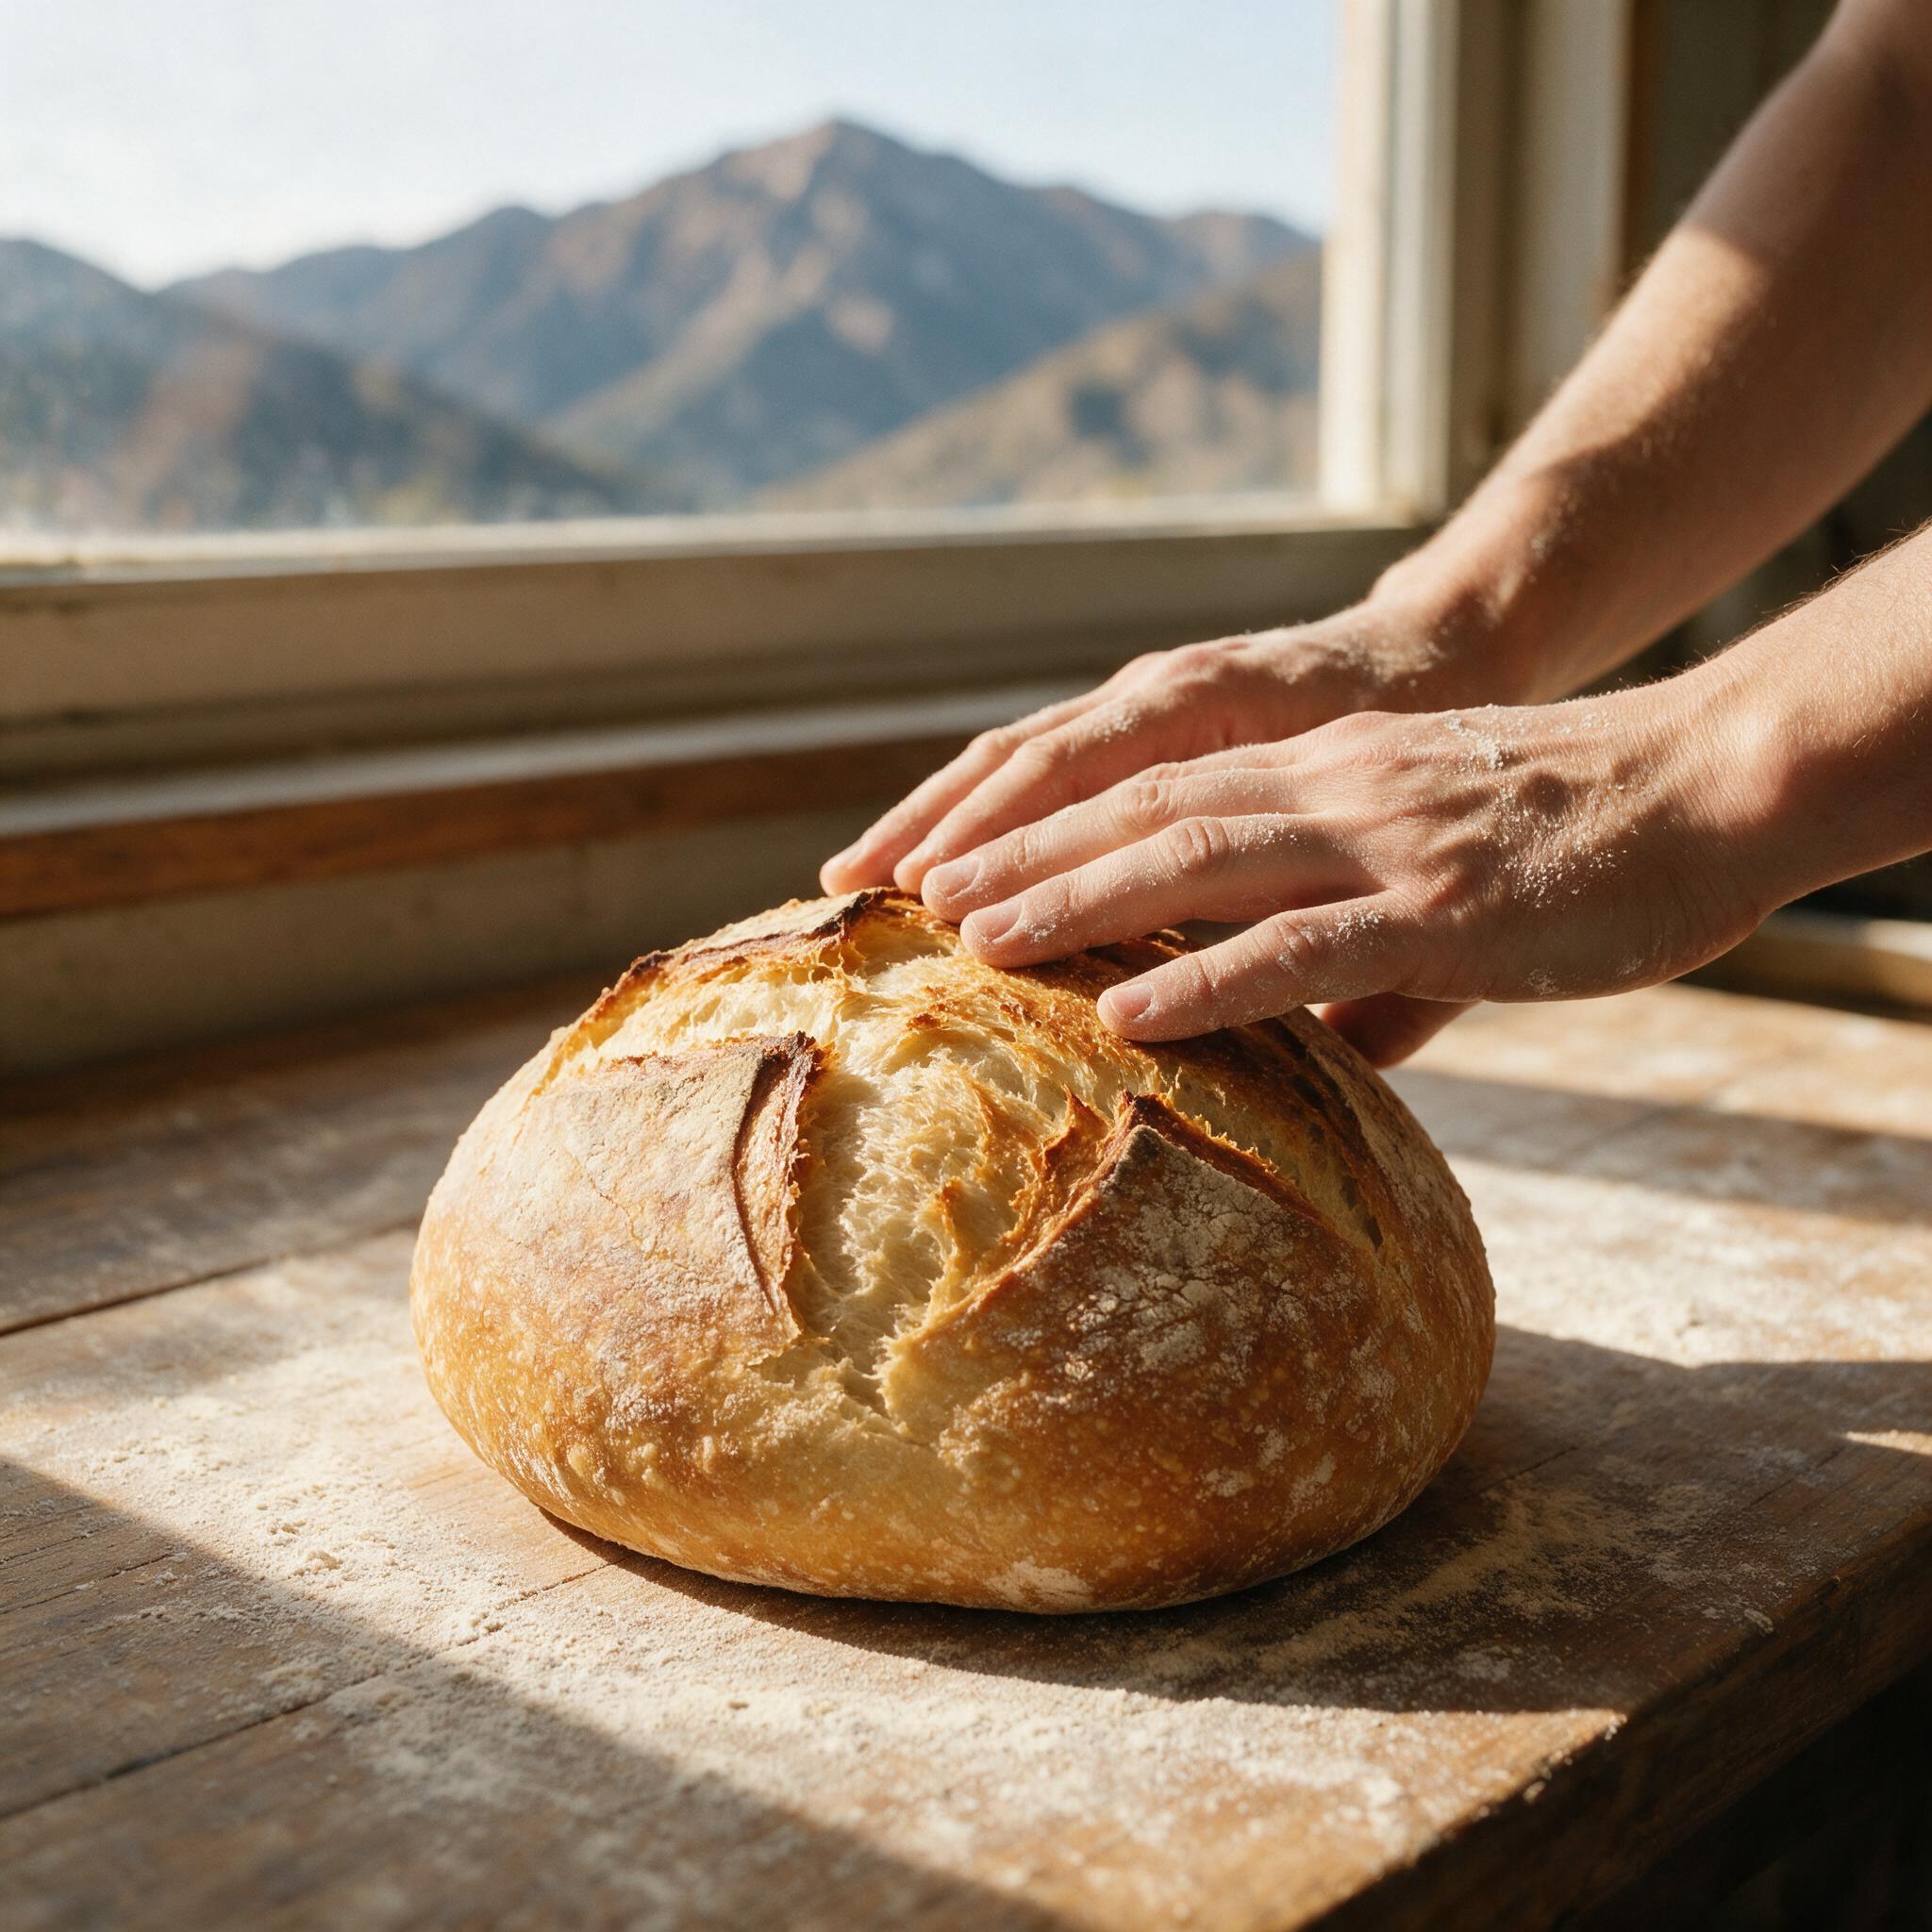
Yes, but with caveats. The Dutch oven's steam trap is what enables dramatic oven spring, and that effect is even more important at altitude (the crust sets faster in drier air, so the steam helps keep the surface extensible longer). Use the same Dutch oven timing as sea level: 20 minutes covered, 20-25 minutes uncovered.
The lower boiling point of water does mean the steam in the Dutch oven is slightly cooler than at sea level, but it's still well above 200°F and effectively does the same job. Don't reduce the Dutch oven time to compensate — the issue isn't steam temperature, it's bake temperature, which the oven temp adjustment handles.
If you bake in a loaf pan (no Dutch oven), altitude adjustment is the same: hotter oven + longer bake + higher hydration. The pan keeps the dough more contained, so it doesn't need the same oven spring a free-form loaf needs.
When Standard Adjustments Don't Work
If you've applied all five adjustments and your bread is still off, the problem is probably environmental, not altitude-specific. Check:
- •Oven temperature accuracy: Get a $10 oven thermometer. Most home ovens are 25°F off from the dial. If yours is set to 475°F but actually at 425°F, no amount of recipe adjustment will fix it.
- •Flour freshness: High-altitude bakers tend to use local flour, which can be older than the flour in the recipe author's kitchen. Try a fresh bag of bread flour.
- •Starter health: The starter adjustments above assume a healthy, mature starter. If your starter is sluggish, fix the starter first.
Altitude baking is solvable, but it requires you to verify the basics before assuming the problem is altitude. Once you know your oven, your flour, and your starter are all in good shape, the altitude adjustments above will get you within 90% of sea-level results.
Related Posts
Keep going with these related guides.